The inspiration for this project came from an email exchange with Mark Kasprowicz. Mark recommended a really good system of using pullies and belts for improving the drives on Lambert Associates HOn3 Galloping Geese. He credits Mick Moignard for coming up with the idea. While I was making these drive improvements, I decided to make other improvements to my geese and that’s the subject of this article.
In the May/June and July/August 2016 GAZETTEs, I wrote about improving the drives and adding lights to my HOn3 Lambert Galloping Geese numbers 2 and 3. At the time, I used the best methods I had available. The end results ran and looked good, but I wasn’t completely satisfied with the results. Since then, I’ve discovered Mark’s drive improvements, Keep Alive capacitor packs, and improvements in LED technology. Follow along with me as I rework these geese and make them the best that they can be.
resulting in my first generation of the modified drive.
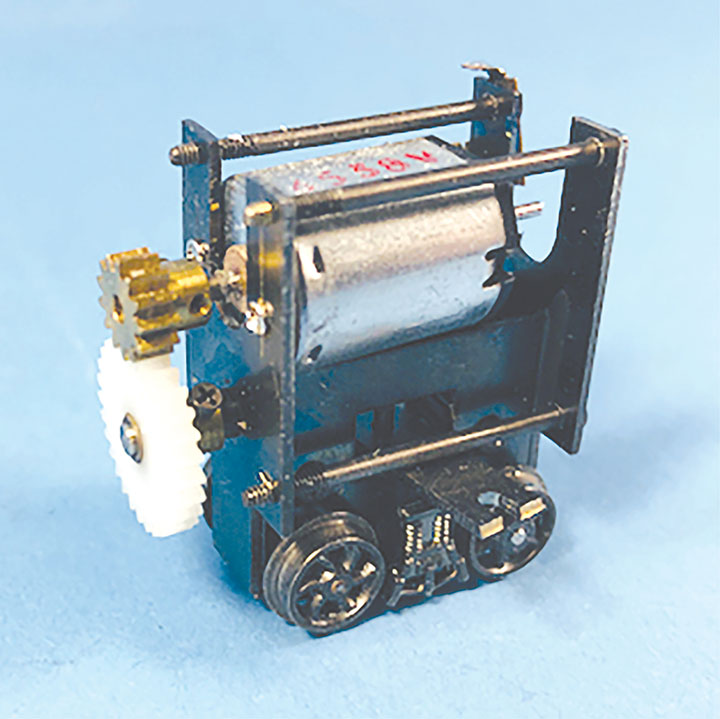
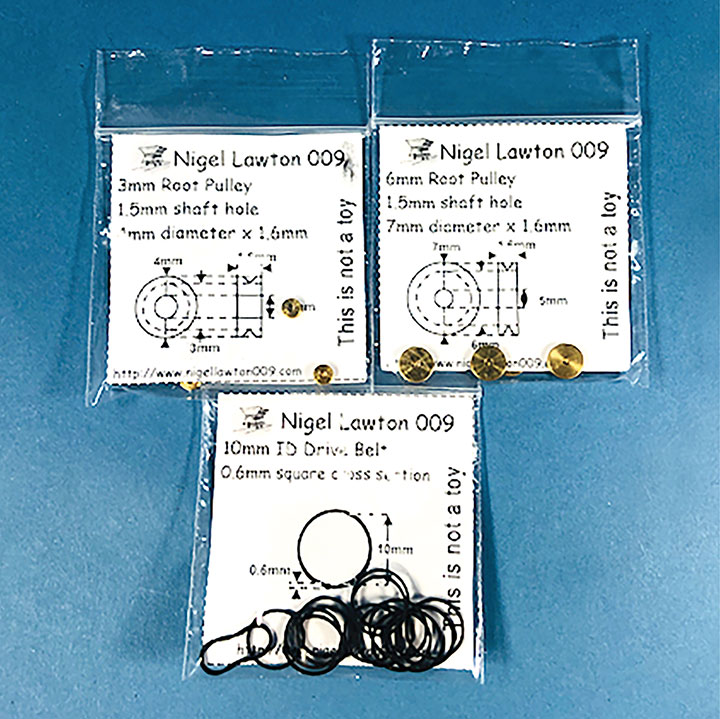
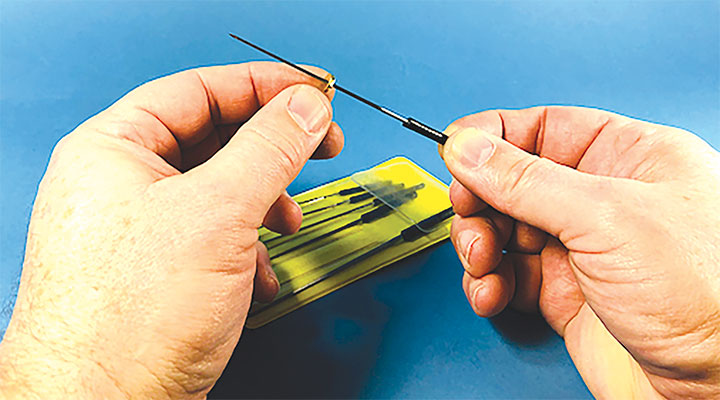
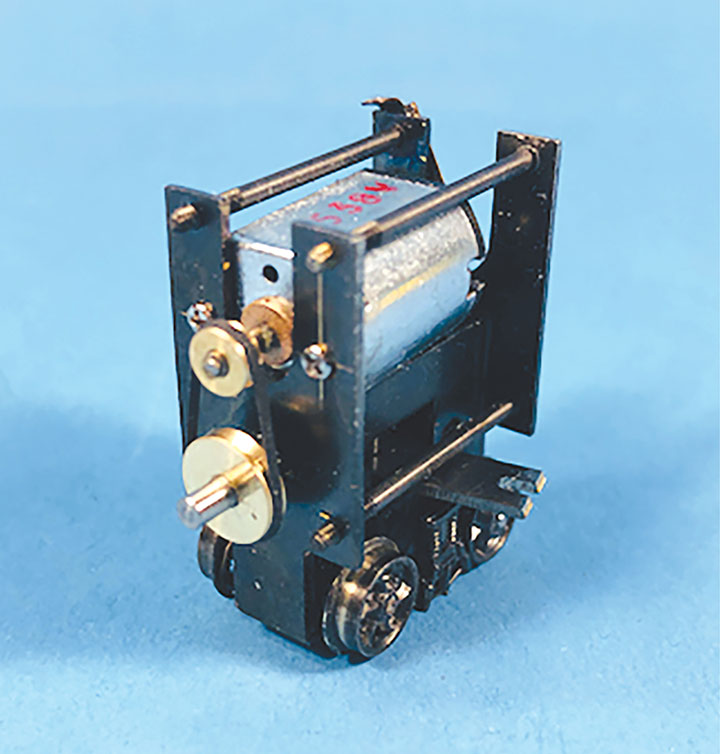
The NWSL #1215D-9 motors that I used in the earlier articles are still available as of the publication date of this article. Replacing the stock low-quality “slot car” motor with these smooth running can motors made a huge improvement to the running quality of these geese. However, the open gears between the motor and the main drive shaft still created a lot of noise. To quiet the open gears, Mark suggested using pulleys and belts that are available from Nigel Lawton in the United Kingdom (http://www.nigellawton009.com/). Each drive requires a 3mm and 6mm pulley, with a 10mm belt to drive them. Through the website, I ordered enough of these parts to retrofit my entire fleet of geese. Within a month the parts arrived in Canada. The stock gears are easily removed with set screws. The smaller pulley slipped on to the motor shaft that I had already shimmed out to 1.5mm with a NWSL #10170-9 1.mm to 1.5mm adaptor bushing. Some Loctite secured the pulley in place. The stock drive shaft is 2.0mm in diameter and the pulley centers are 1.5mm. I used my reaming tools to enlarge the hole in the 6mm pulley. Once it was a slip fit on the drive shaft, it was secured in place with Loctite while I carefully aligned it with the smaller pulley.
After waiting overnight for the Loctite to set, I installed the rubber belt between the pullies. Using a DC power pack, I tested the performance of the newly upgraded drive. I was astonished at how smoothly and quietly the drives had become! This was the first time I have ever used a belt drive in my modelling, and it certainly won’t be the last. We North American modelers are often guilty of overlooking tools and techniques the overseas modelers use. This project goes to show how much better off we’d be if we keep an open mind to these “foreign” techniques.
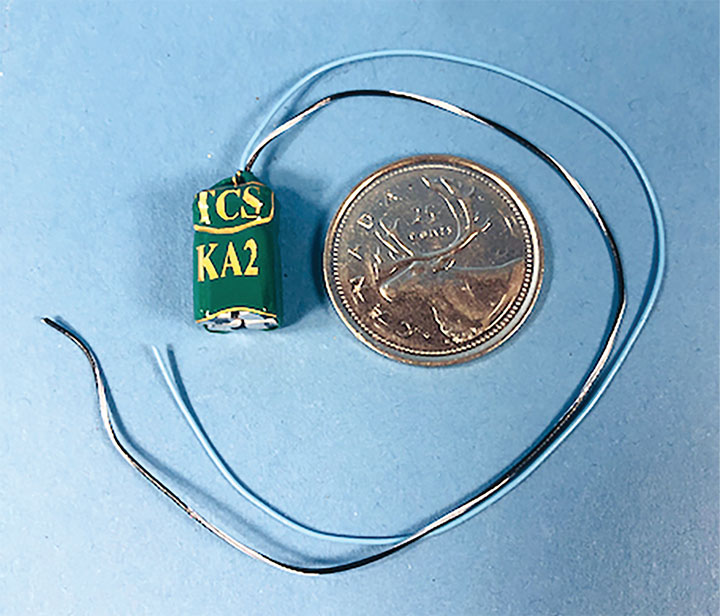
When I originally worked on my geese, there wasn’t the variety of DCC Keep Alive capacity packs available like we have now. At the time, the only power backup option for the Tsunami decoders I used was the first generation Soundtraxx Current Keeper. These units were too big for my model of Goose 2, so it always lacked a capacitor, and was subject to temporary power losses. Over the last couple of years, Train Control Systems (TCS) has come out with a nice variety of high capacity Keep Alive packs. The small size of their KA2 pack is an excellent option for HOn3. It’s almost exactly the same size as the stock capacitor that comes with Soundtraxx Tsunami decoders. The stock Tsunami capacitor doesn’t compensate for power loss but can be replaced with a Keep Alive capacitor to serve that purpose. For my Goose 2, it was a simple capacitor swap and it finally had protection against temporary power loss. In my Goose 3, I replaced the older Soundtraxx Current Keeper with a more modern TCS KA3 unit. This Keep Alive upgrade made another dramatic improvement to my goose performance.
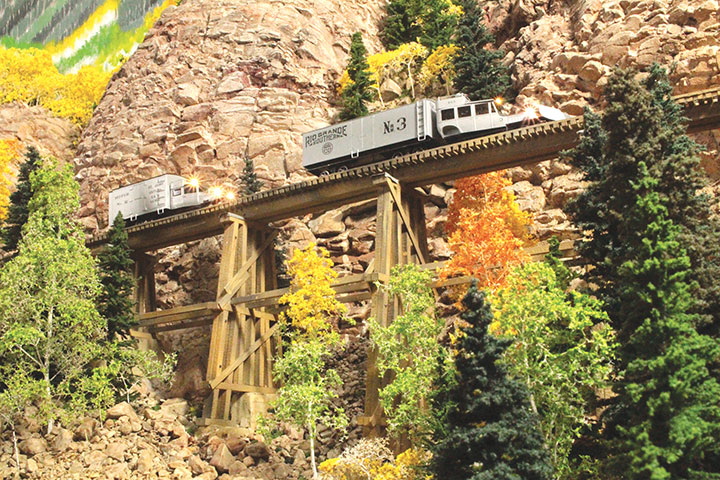
With the drive and capacitor upgrades on my geese complete, I set about test running them on my layout. The improvements were truly remarkable. All of the improvements I did made very smooth, quiet and reliable running geese. My geese were running near perfectly, and there was no comparison to the jerky, coffee grinder sounding, stock models that I started with. I’m very satisfied with the results!
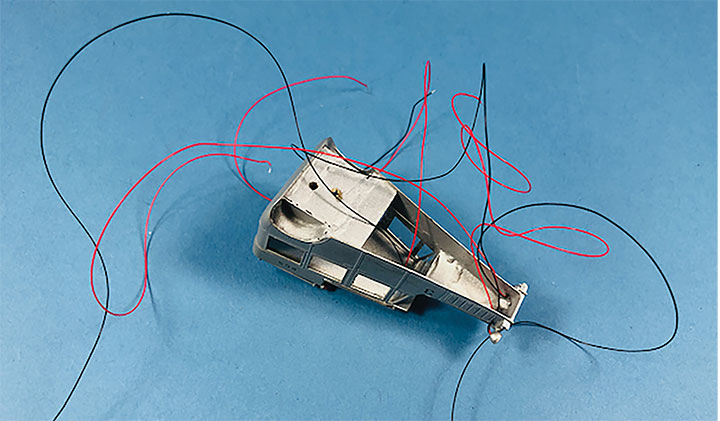
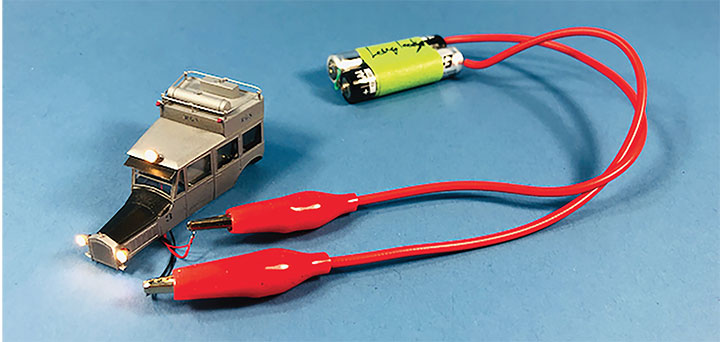
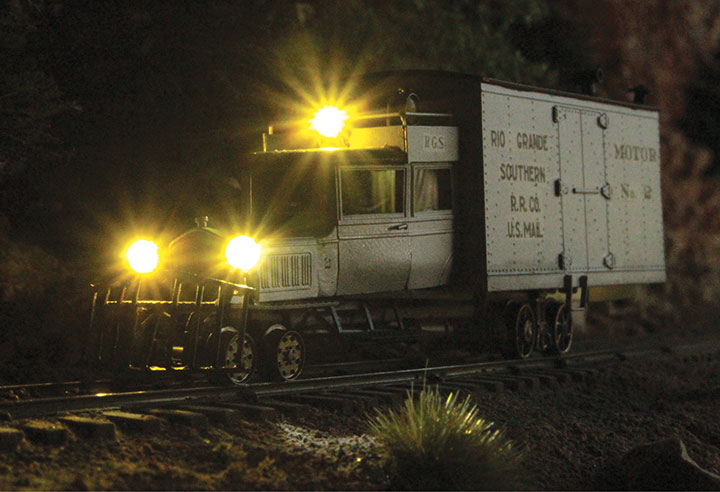
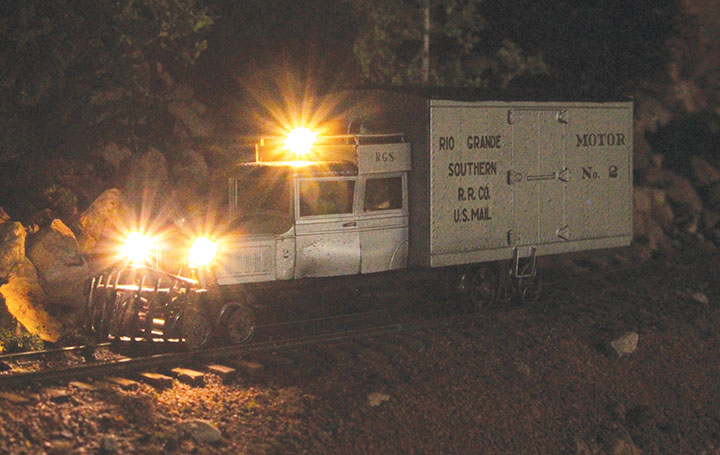
Test running my geese revealed one last thing from the original upgrade that I wasn’t completely happy with. The LEDs I used in those original articles have a yellow/green hue. At the time, these were the smallest LEDs available and the only ones that would fit in the goose headlight castings. Since then, there have been great advances in LED technology. I decided to replace those early LEDs with newer 0402 LEDs that cast a proper white light.
I’m really glad that I had this conversation with Mark which inspired me to revisit my goose fleet. Because of their temperamental nature, I’ve rarely run my geese over the years. Geese 2 and 3 are not perfect, but compared to how they ran before, they now run great. I’m looking forward to upgrading my remaining Lambert Geese, and running the entire fleet during a future operating session. Thanks Mark and Mick!
If you’d like to see before and after videos of my geese, check out my YouTube channel.