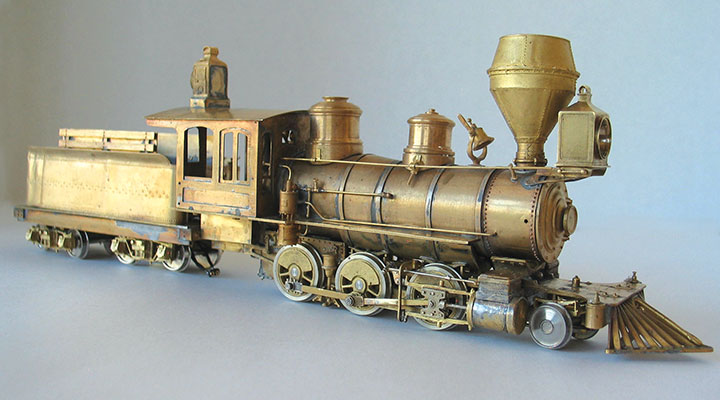
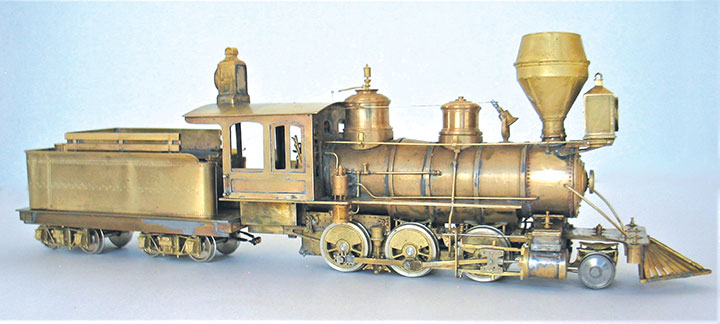
This is the final installment in my series on building Colorado Central #10. I have tried to highlight the major steps in its construction and here I will discuss her details, along with final thoughts on the whole project.
As I said at the beginning of my series, this isn’t necessarily the best — or only way to build a locomotive, but it has worked for me. My intent was to present a method for building a locomotive in brass, showing an approach covering the main components, without going into too much detail on the small parts.
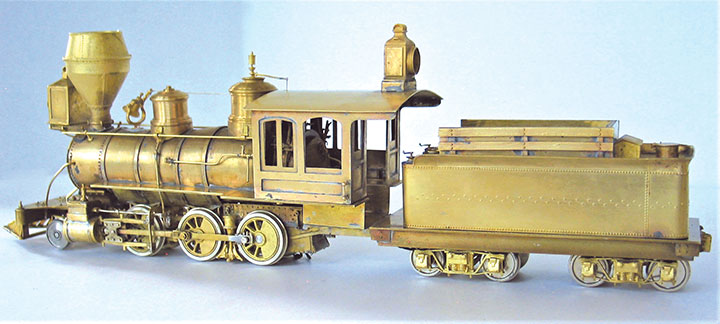
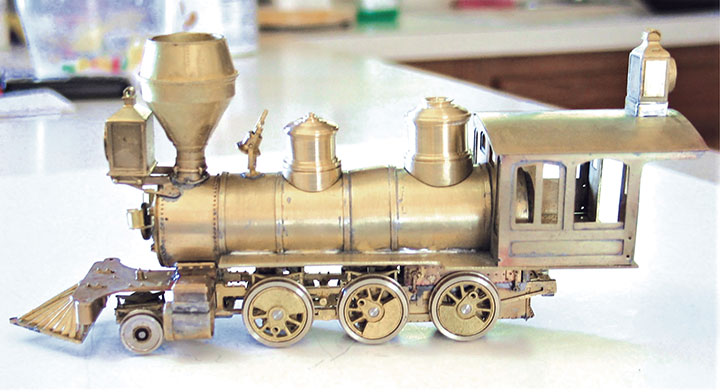
With any project this complex, there are things I might have done differently. This was my first attempt at doing a wagon top boiler, and even though it turned out OK, it was certainly a learning process.
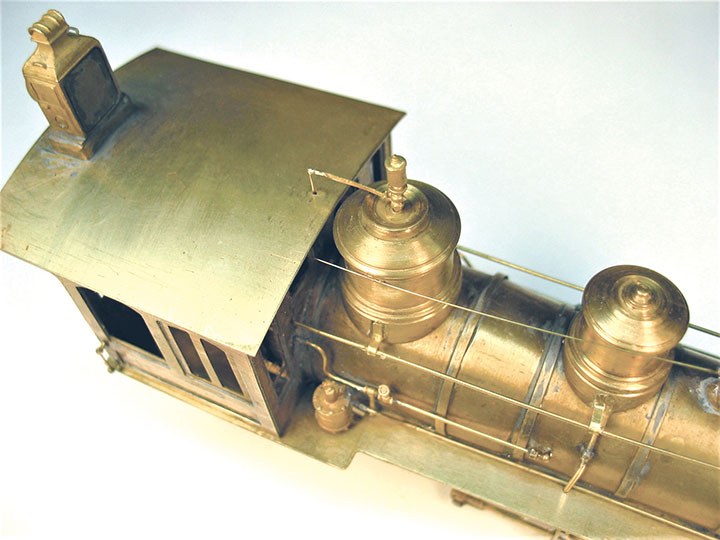
In addition to the smaller details, one last important step to discuss is extending the frame. The original Kemtron main frame castings are for an 0-6-0 tank locomotive which are too short for CC#10. This meant extending the frame to position the cab correctly. The cab sides had to be extended downward and a floor fabricated. I soldered brass bar stock to the frame castings to extend them and to provide support for the cab floor. CC#10 is now ready for painting, with the exception of the water lines going to the tender.

Even though building CC#10 was a complicated project, it was interesting and fun, resulting in a unique locomotive, not available commercially.
Working in brass is my favorite part of the hobby, but I realize it tends to intimidate many modelers, especially the soldering. I suggest that an easy way to learn the basics is to get a few pieces of K&S brass strip and practice soldering them together before starting a more involved brass kit. Unsoldering, cleaning and resoldering the strips will be a good way to learn basic soldering techniques.
My next brass project presents some real challenges, and I’ll share them in my next series about building an On3 model of a Jull Centrifugal Snow Excavator — one of the most unusual pieces of maintenance-of-way equipment on rails.