Jim Hill, President of the Great Northern, had an effective management philosophy: We will continually take our railroad’s worst feature and make it the best. That strategy can serve a model railroader very well — regularly search your layout for the thing you like the least and replace it with a new best-effort. And that’s one more answer to the question: what do you do with a layout when it’s completed?
MY LAYOUT’S WORST FEATURE
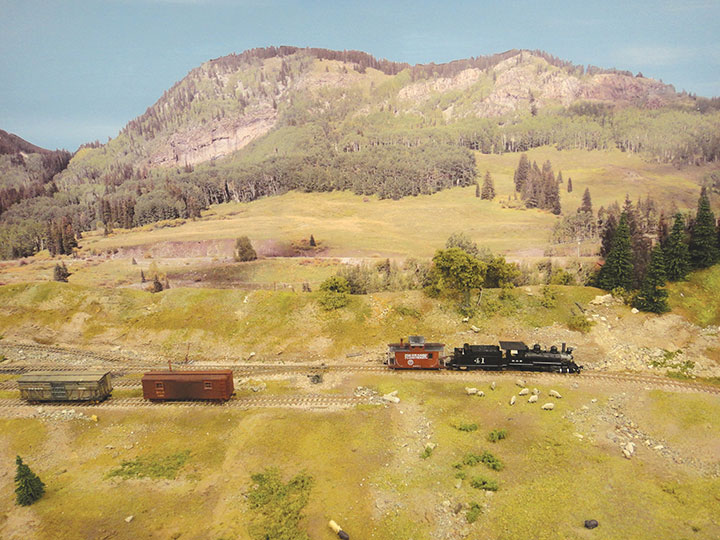
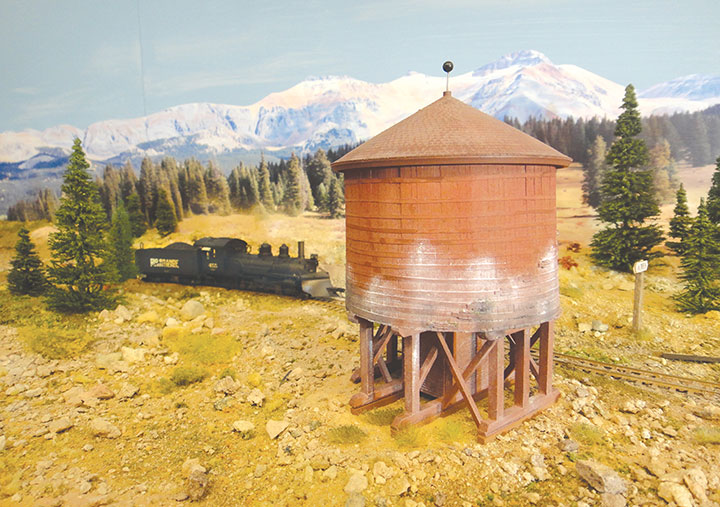
Ever since bringing my HOn3 Rio Grande Southern layout to photo-finish, I have known which feature I liked the least. That feature was a six-foot stretch of single-track scenery between the wye at Vance Junction and Railfan Bridge. The latter is a small trestle over a road where a railfan waits with a camera. A 1935 Ford like Otto Perry’s is parked nearby.
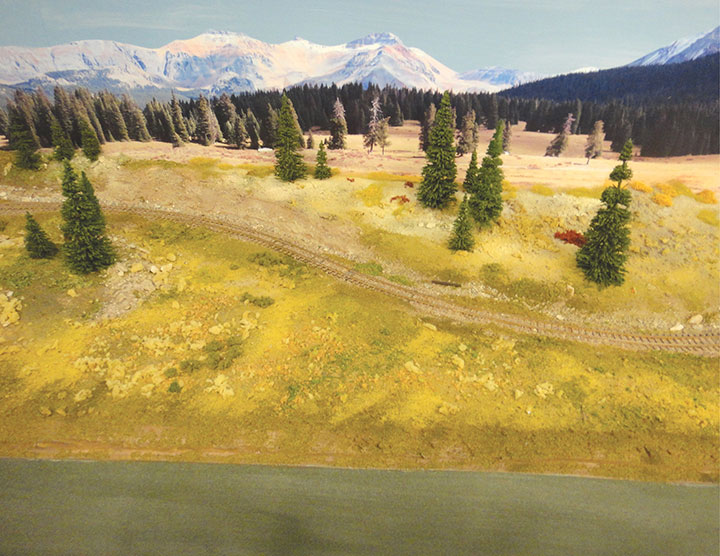
This six-foot stretch of track had been given no name. It was intended to be one of those “dead areas” or “spaces between places” that serves as book ends between detailed areas. But, in this dead area I had suffered my worst luck in blending foreground scenery into the backdrop. The photo backdrop from LARC Enterprises is a wonderful product, but I simply could not find colors of ground foam that matched the colors of the backdrop. I mixed several colors of Woodland Scenic ground foam together and concluded that was the best I could do.
SEEK INSPIRATION
One of the great joys of model railroading is that we frequently scan railfan photos searching for that one elusive detail we never noticed before. Recently I was enjoying a photo of Lava Tank on the Cumbers & Toltec, when it occurred to me that the color of the soil in that arid location is similar to the color of the backdrop in my no-name scene.
Off to the train room I sped and pulled my buckets of dirt out of storage. I have a dozen buckets of soil I’ve gathered during rail history jaunts. Comparing colors, I found that the material from a mine tailings pile at Rico, Colorado, was the best match for the backdrop.
THE PROCEDURE
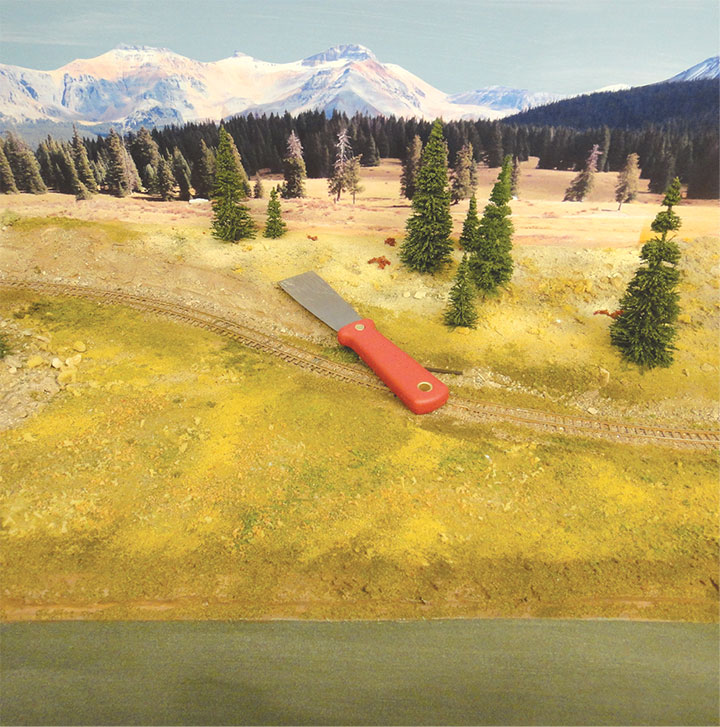
To begin, I plucked all the clumps of ground foam foliage off the scene. Then I used a small putty knife to scrape the foam particles that were too small for my fingers. I was not very thorough at this: there was no need to dig deeply enough to gouge the insulation foam scenery shapes, and the material that was left would be mostly covered by the new material I would add. I firmly believe that the more colors and textures I put into my scenery the better it looks, so I actually strive to be the opposite of neat and precise. Neat and precise looks toylike. Good model railroad scenery is a mess — a calculated mess, to be sure — but a mess, nonetheless!
Revising that scene began with a burst of hair spray that hit the bottom of the backdrop and the scenery next to it. Then I applied the dirt/sand/gravel from my Rico bucket with a spoon. The match to the backdrop color was very good. To blend it perfectly, I placed some of the finer Rico material in the spoon, held it next to the place where the model scenery meets the backdrop, and gently blew it with a soda straw. Some of the dust-size particles stuck to the hair spray at the bottom of the backdrop. Subtlety is always the key to good scenery; I didn’t want the dirt to completely cover the bottom of the backdrop. Rather, just a hint of the colored dust stuck to the backdrop with most of the backdrop colors still showing through.
Proceeding with my artistic effort, I applied four kinds of dirt from different buckets, and four shades and textures of model railroad ballast. Thus, I created shades and blendings from eight different new sources on top of the variety of materials and colors that were already there. Mostly, what you see is the Rico tailings material. A few bits of ground foam vegetation and MiniNatur weeds were added. When everything looked good, I sprayed it with wet water from an old hair spray container and doused it with diluted matte medium. This was the first time I used this material. I have always used diluted white glue in the past. I see no difference in final outcome.
CREATE AN IDENTITY
The photo that inspired the arid sandy ground cover for my scene included a water tank. Hmmm, that would look cool in my scene. And hey, the prototype Ames water tank was located a short distance up the line above Vance Junction. One of the design flaws of the prototype RGS was the lack of a water tank at Vance. Engines had to run light up to Ames to get water. Wouldn’t that be a neat operating feature to build into my layout! My former no-name dead area is now Ames.
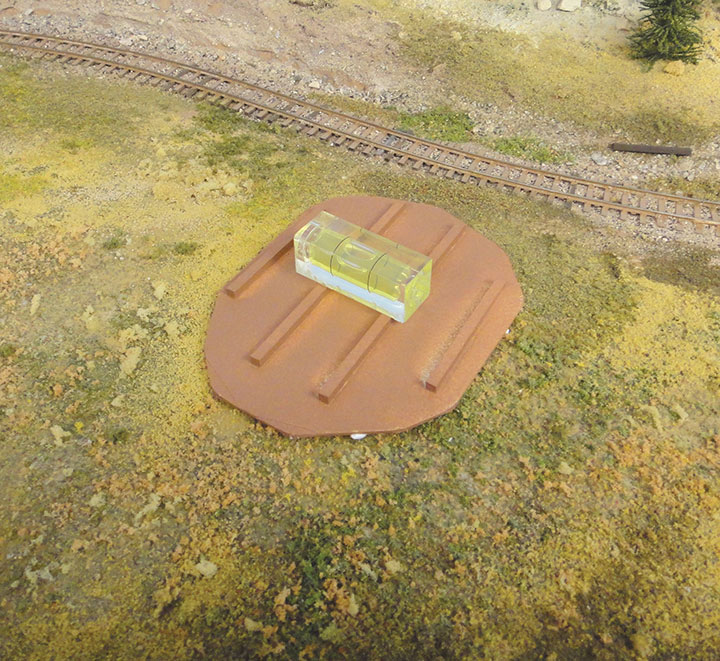
The model terrain at Ames is undulating on a three percent grade to match the track. I made a base for the tank by cutting an irregular-shaped circle of 40 mil Evergreen styrene. A perfect circle might have been visible as such in the scenery. I applied a bead of Loktite caulk-gun glue to the bottom of the base and pressed the plastic base into the scenery with a small level on top. I rotated the level to make sure the base was level in all directions. The pliable glue made it easy to press the base into level orientation. This was actually an early step in the renewal of the scene and was completed before I started adding new ground cover.
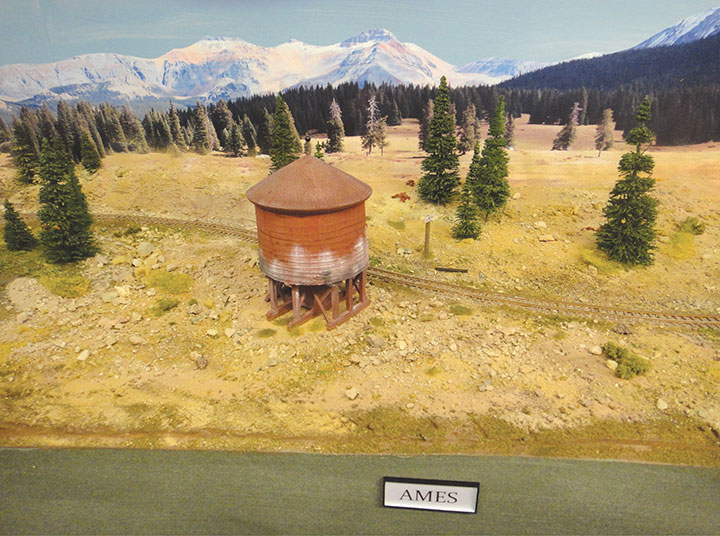
A station sign proclaiming “Ames” was added to the scene with a repeat sign on the fascia. The signpost is a scale foot square with a pyramid top to shed water. The sign is a scale 18 inches tall. Actually, there are two signs, recessed back-to-back at the top of the post. The signs are about ten feet off the ground. Stations, remember, are geographical locations given names by the railroad to facilitate communications. Some stations have a depot which is a building used for company business. Thus, the terms station and depot are not interchangeable. Where depots exist, station signs are put on them. Here’s a peculiar piece of logic for a person to ponder during midnight insomnia: station signs are placed on buildings that aren’t stations and depots have signs that aren’t depot signs!
Having crafted my layout improvement, I cleaned the track, stood back to view my handiwork, and like God on the seventh day, saw that it was good!
CONCLUSION
A completed model railroad need not be static. What’s your railroad’s least satisfying feature? Something can always be tweaked, refined, or completely rebuilt in our quest for layout improvements. By viewing my photo-finish layout as a perpetual work-in-progress, a dead area has now come to life. I have made my layout’s worst scenic feature equal to the best, and gained a new operational feature to boot!