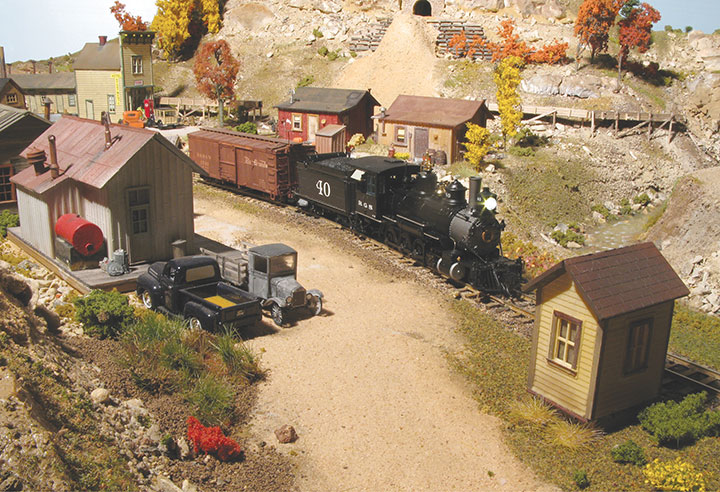
One of the most striking layout refinements is to add scenery. Many layouts have areas where no scenery has been started. Even if scenery is complete, a longtime hobby can be made out of replacing the proverbial weak link with a new best-effort.
One of the biggest stumbling blocks in the way of working on scenery is the mess. Working on scenery entails tools, a variety of glues, and dozens of types of scenic materials. All this can shut down a model railroad for the duration of the project. But wait — scenery doesn’t have to be built on the layout!
USE A DEDICATED SCENE SHOP
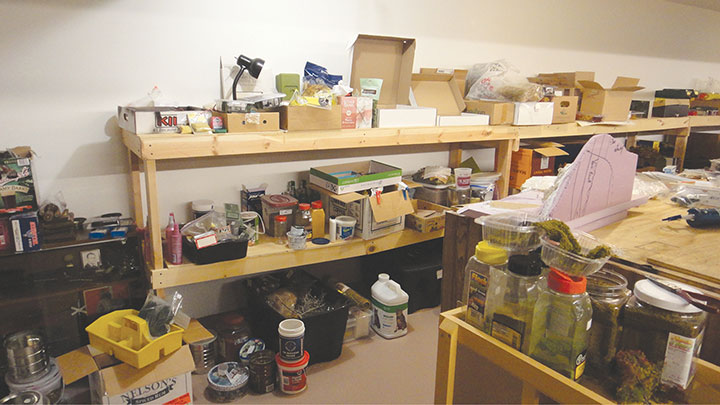
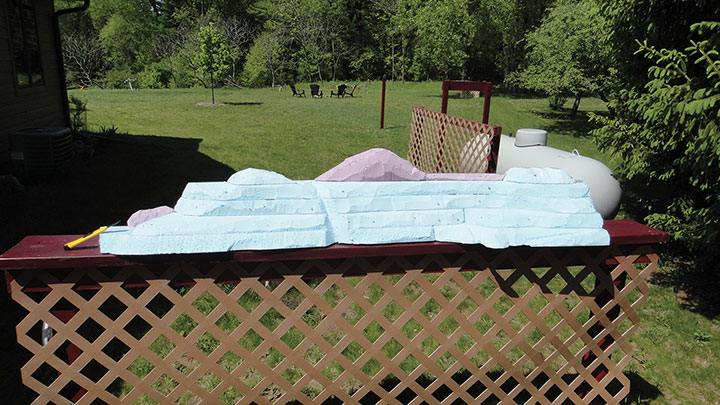
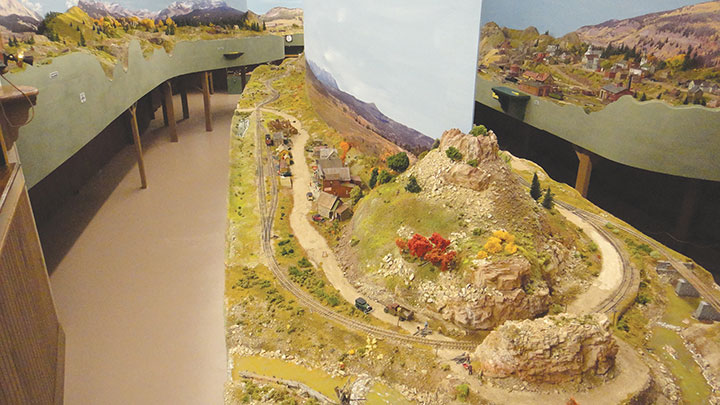
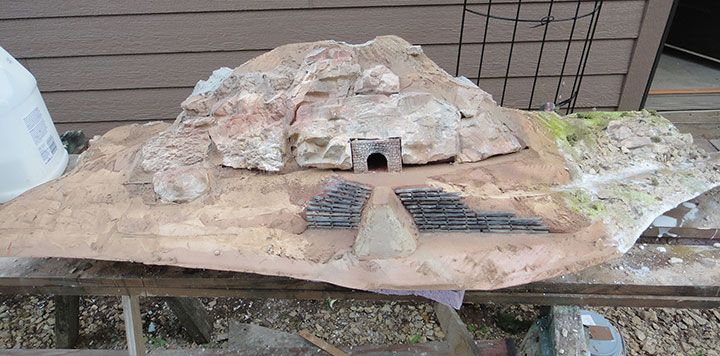
Large portions of model railroad scenery can best be built off the layout. In planning my train room, I reserved some space for a crew lounge and other space for a workshop. My workshop includes a table I built as a temporary scene shop. When the layout was completed, the table came down and the space is now used for other things. Even if you don’t have a separate dedicated area for a scene shop, one area of the layout benchwork could be reserved for that function and finished last. Equally reasonable would be to have a worktable in the garage. While I have a dedicated scene shop near my train room, which I have used extensively, I also have an outdoor workbench where I have done as much scenery construction as possible when weather permitted.
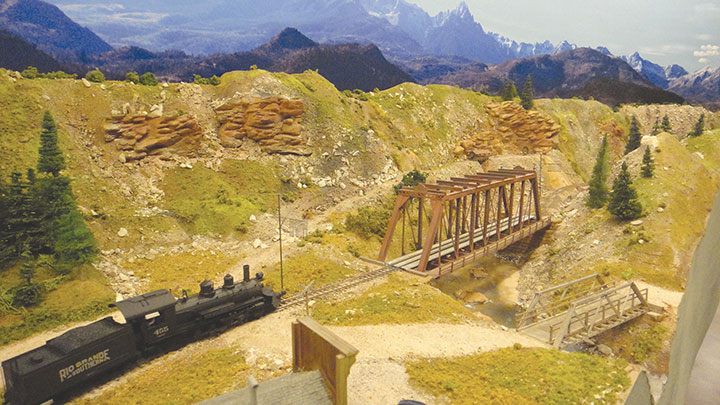
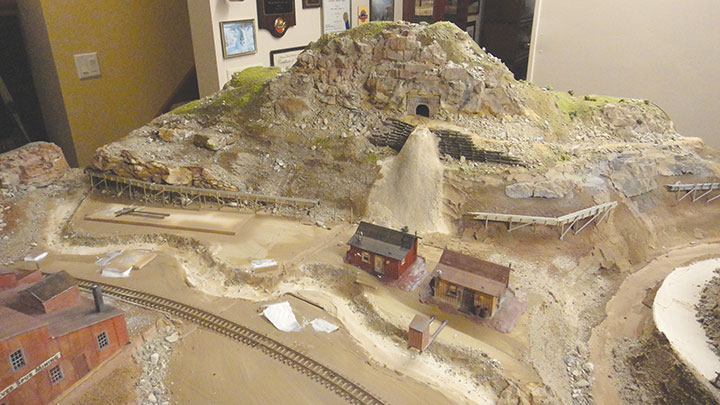
Scenery at track level pretty much has to be finished in place. Almost everything else can be built at a remote location. About 75 percent of my RGS scenery was built off-layout. My dedicated scene shop is efficient because I take my work to the tools. It keeps the mess out of the train room and lets me run trains through the construction zone. With only one limited area of scenery under my nose at a time, best efforts are promoted.
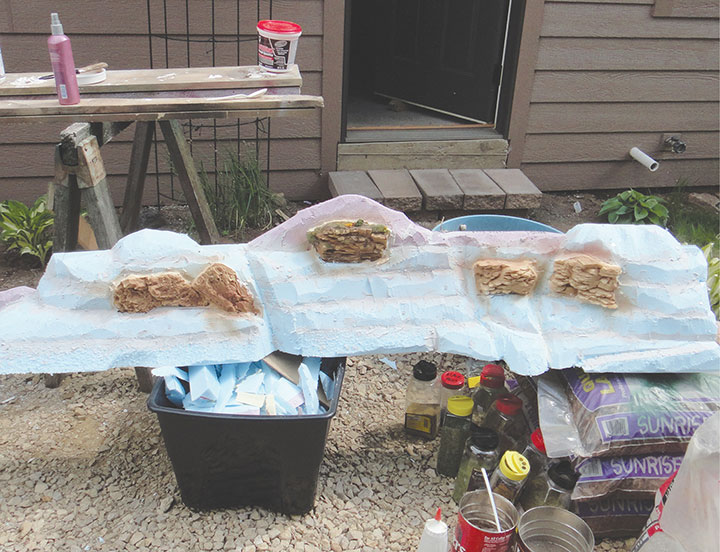
ENJOY THE EFFICIENCIES
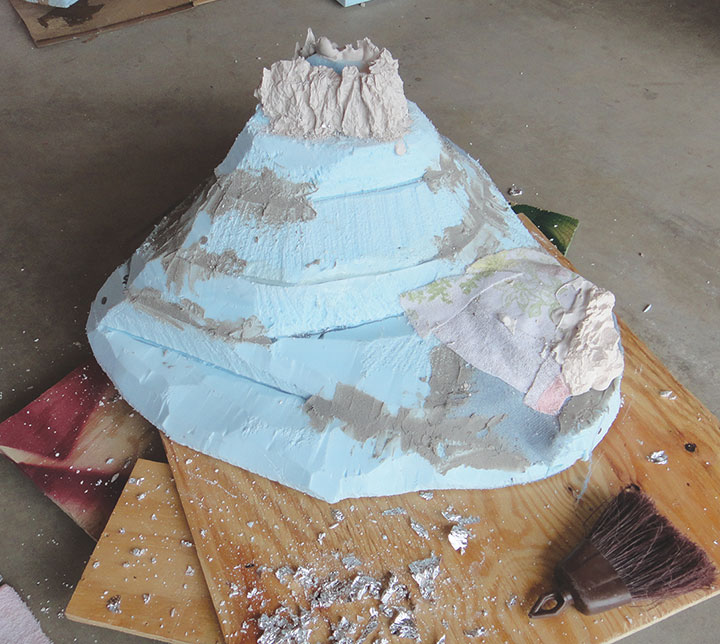
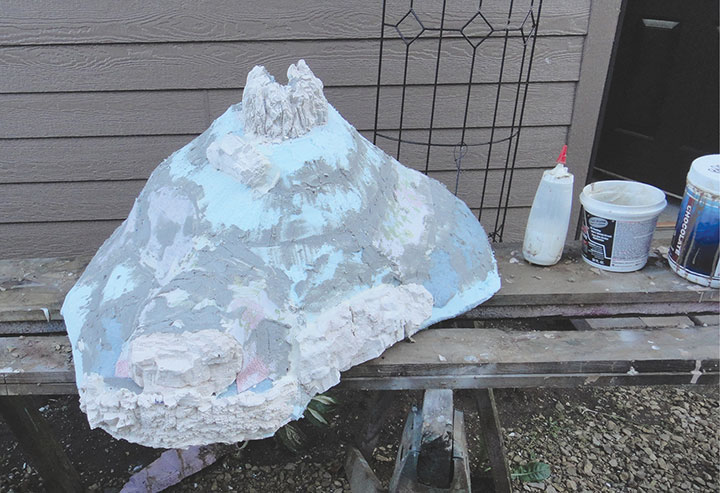
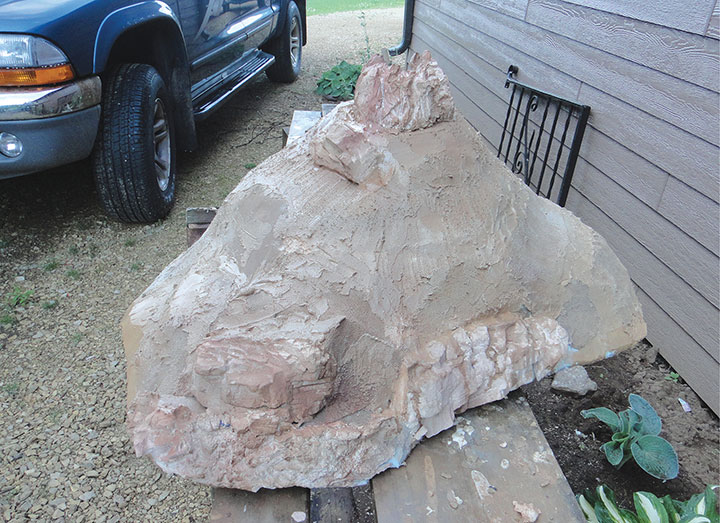
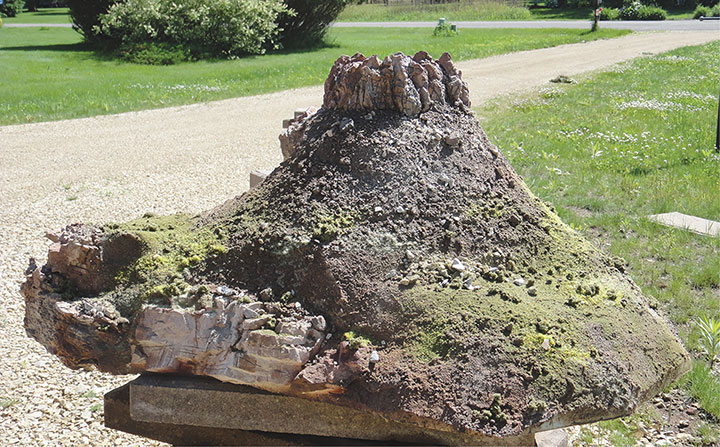
Follow along with the photos and see efficiencies that can be enjoyed. While my methods almost always entail layered insulation foam and cloth-shell, scenes can be built remotely on plywood with traditional plaster methods.