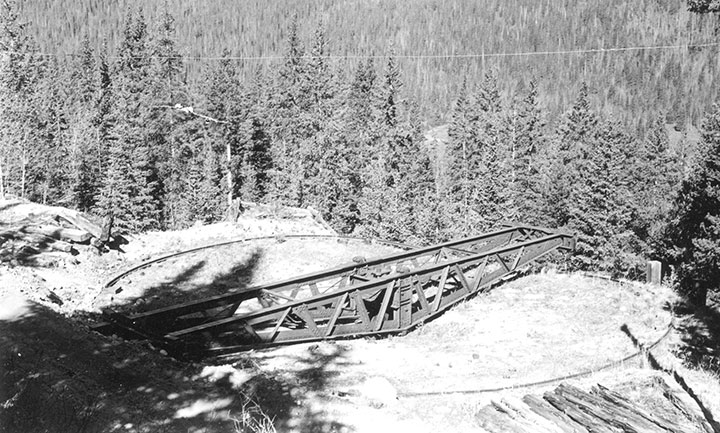
Romley, Colorado, was essentially an ore loading facility for the Mary Murphy Mine, located between St. Elmo and Hancock. This was an isolated section of the C&S due to abandonments, and the turntable was used to turn locomotives for the return trip back down to Buena Vista.
The turntable was located just off the main line on the edge of a mountain. This was a dangerous location, as engineer Sam Speas found out when the iron center casting on the turntable broke, causing the table to tilt, allowing locomotive #67 to roll off and plunge 30 feet down the mountainside. Luckily, Speas jumped and landed in the pit, suffering only minor bruises.
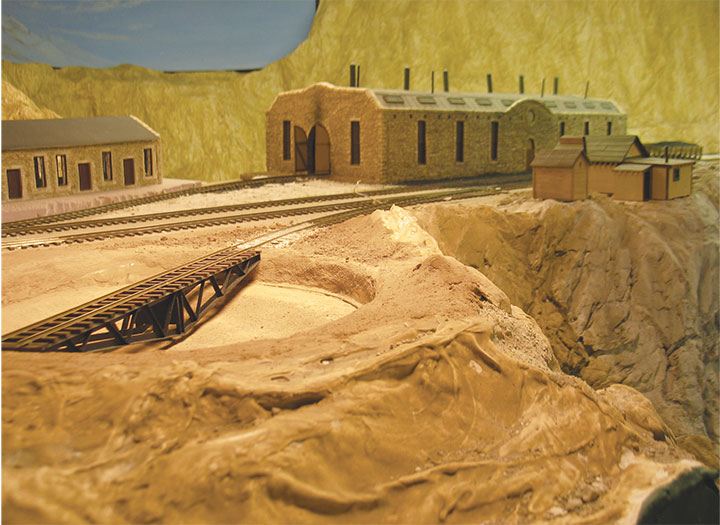
I located the turntable on the highest point on my layout, next to the Alpine Tunnel engine house, which is just above the Chalk Cliffs. The cliffs seemed like a perfect place to represent the hazardous turntable location at Romley.
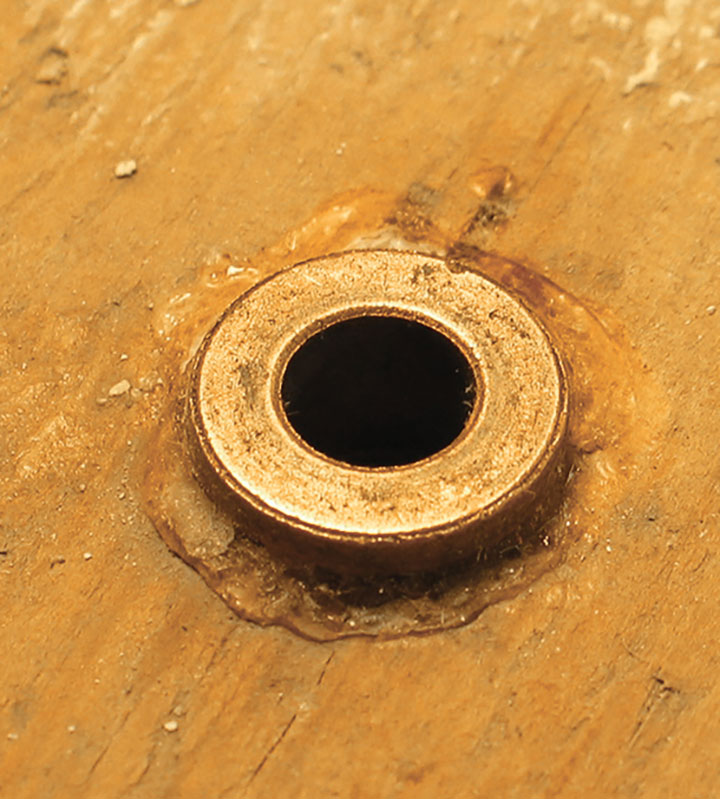
I installed the basic plywood pit in the benchwork in 1999 and hadn’t looked at it since. I was unhappy to discover that the base had shifted during the years and was no longer level. This meant I had to shim one side of the bronze bearing to bring it level again. I hadn’t intended to make the ring rail functional which was good, as the base was no longer level.
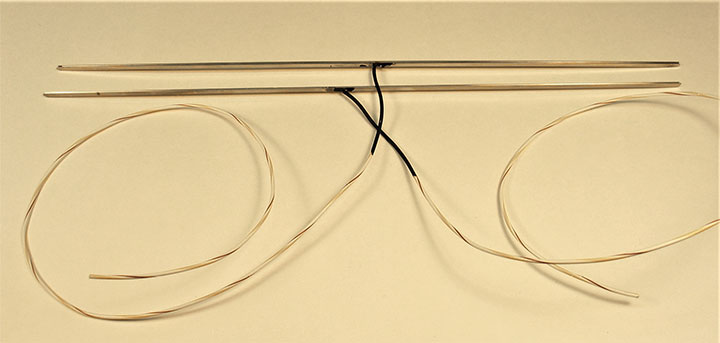
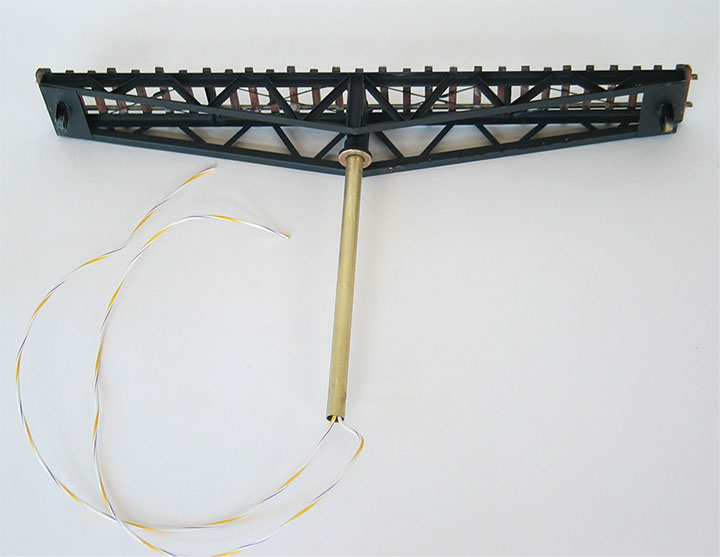
Once the center bearing was leveled and glued in place, I could then align the center pivot shaft on the bridge. Instead of a steel rod for the center pivot, I used 5/16-inch brass tubing because it wouldn’t take as much heat to solder it to the bridge. I ground flat spots on the top of the tube and soldered it between the center cross pieces of the bridge. Instead of using the ring rail for current pickup, I soldered wires to the underside of the rails and ran them down the tube. This wouldn’t work for a conventional roundhouse turntable because the wires would twist as it turned, but it wasn’t a problem as this turntable only goes back and forth and not in a circle.
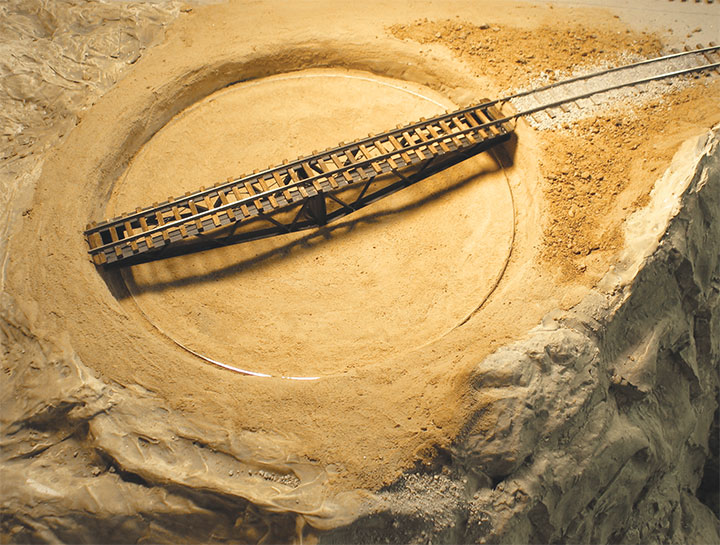
Now that the bridge was complete, I painted it and glued ties and rail in place. I had another bronze bearing, so I slipped it onto the tube up against the bottom of the bridge just to see how many shims I would need to bring the rails level with the track to the pit when I placed the bridge in the pit. I was amazed to see that everything lined up perfectly without shims. I wish I could say this was the result of careful planning, but it wasn’t. This proves once again, that sometimes it’s better to be lucky than good.
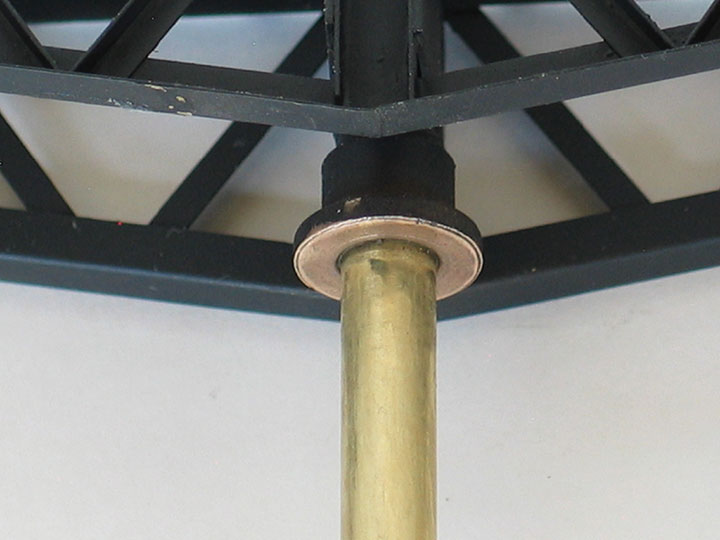
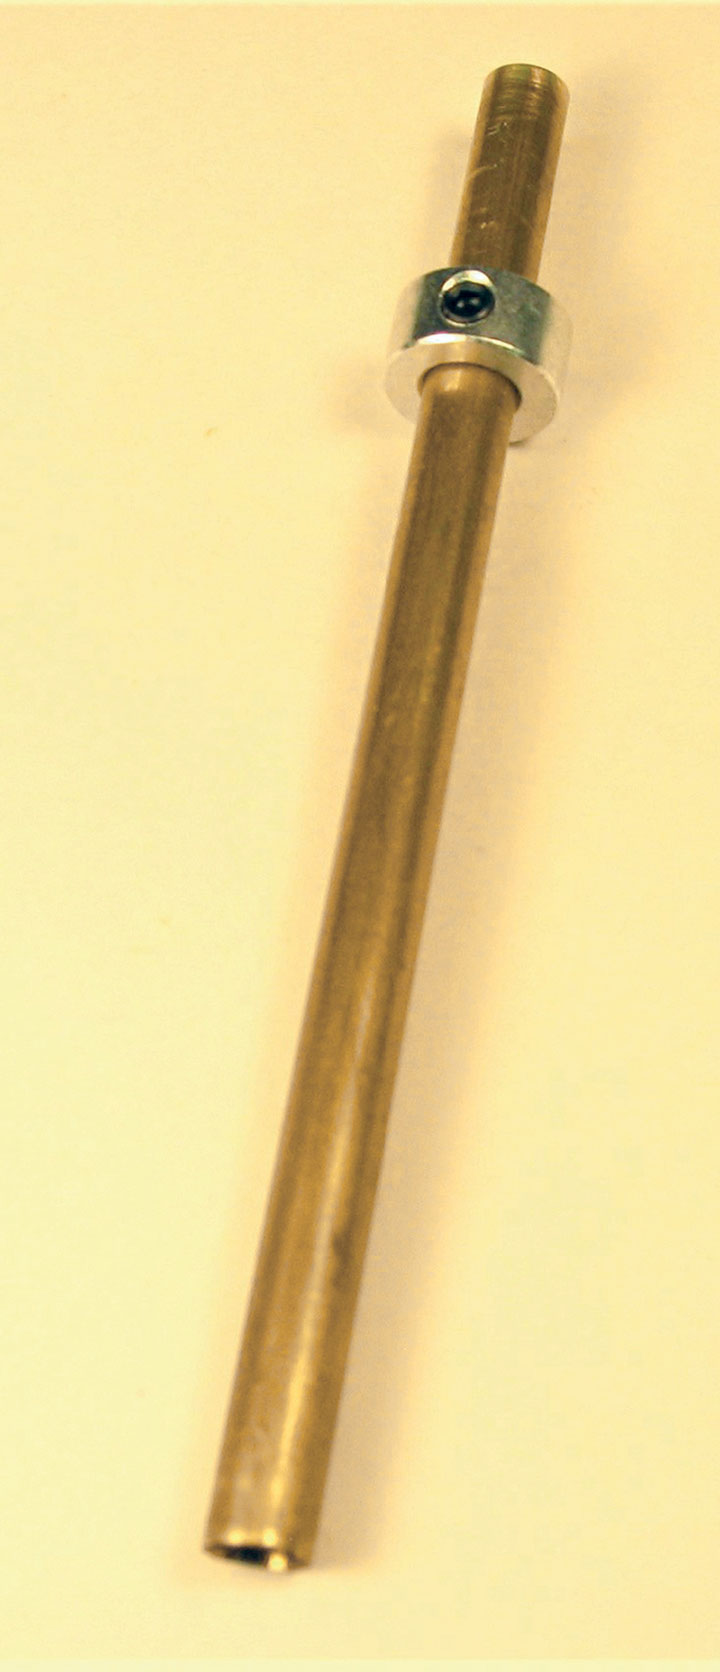
I noticed I had gotten some overspray on the pivot tube when I painted the bridge, causing a slight bind when I rotated the bridge in the pit. I used a rubber wheel in my motor tool to polish off the excess paint and relieve the bind. I was a little too aggressive and again removed some of the tube itself, causing some side play when the table was in position. I didn’t want to solder a new tube in the bridge because it was already painted, so I tried sliding a collar with a set screw on the tube up against the plywood base; this worked fine to eliminate the movement.
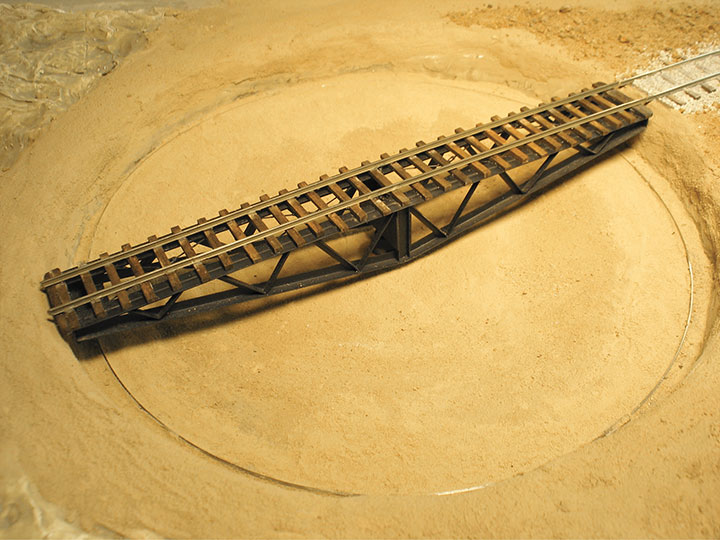
Ground cover in and around the pit was done with Polyblend Sanded Grout. I started using this product some time ago after GAZETTE editor, Bob Brown, mentioned it in one of his editorials. It comes in different colors, so I bought shades I thought would look good as ground cover. It works well as a base for adding other scenery materials, but also looks fine by itself as basic ground cover. I intend to add more material around the pit to help blend it into the surrounding Chalk Cliff area.
I like having the turntable at the edge of the cliffs, but at 69-inches above the floor, it’s an awkward location to work on while standing on a ladder. Because of this, I probably won’t operate it very often, but I never intended for it to get much use. Rather, it was primarily a unique brass building project I thought would be interesting, which it was, once I finished all the angles. It isn’t powered, so I turn it by hand while standing on a ladder, another reason it will see little use.
Photos of the turntable are scarce, but the best for the modeler are found in C&S Highline Memories & Then Some and South Park’s Gunnison Division & Then Some, by Tom and Denise Klinger. Photos in these books clearly show construction details not found in other books.
I didn’t intend for this project to take more than 20 years to complete, but now I can finally finish scenery around my Alpine Tunnel area—possibly the subject of a future article.