Those who like Colorado narrow gauge railroads are very familiar with the spectacular scenery the little trains traveled through. The Denver, South Park & Pacific had an area that was not well known as a spectacular location, but the Chalk Cliffs are quite interesting in their own way.
The Chalk Cliffs are a geological formation located in Chalk Creek Canyon on the way to St. Elmo and the Alpine Tunnel. Although they appear to be composed of white chalk, they are actually an unusual deposit of feldspar, a form of granite which turns to clay when combined with water. In heavy rain, the cliffs erode, and the resulting wet clay slides down and often covers the two-lane highway in spots.
Photos of this fascinating formation are rarely found in books on the railroad, but I’m particularly interested in them because I see them every day from the front windows of my home. Their color is constantly changing, depending on the time of day and season of the year. Even though this is interesting, it made it difficult to decide on a color for the cliffs on my layout. I decided the answer was to just use the actual material from them as a guide.
I should note that the railroad didn’t actually run at the base of the cliffs, but rather across the canyon from them.
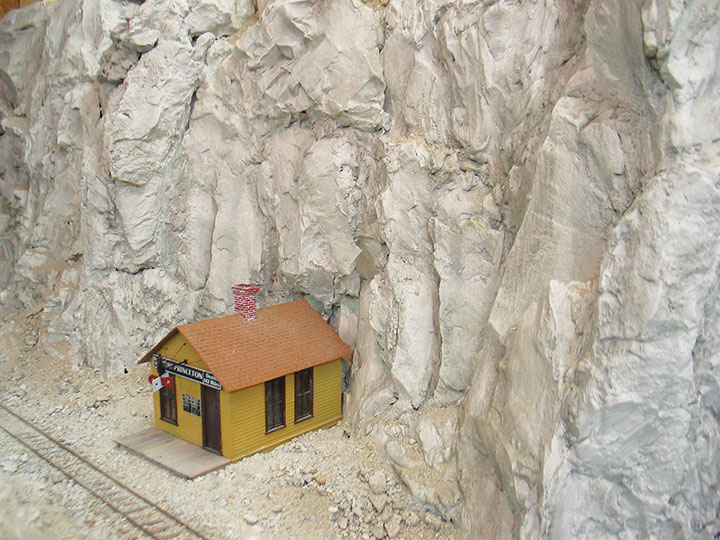
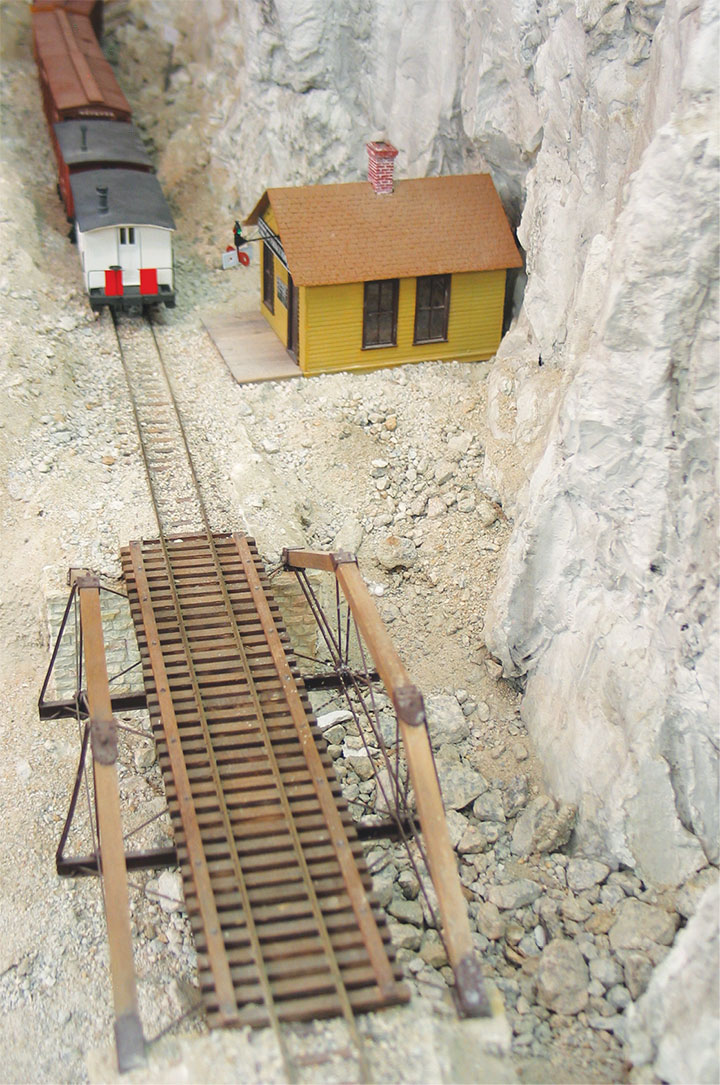
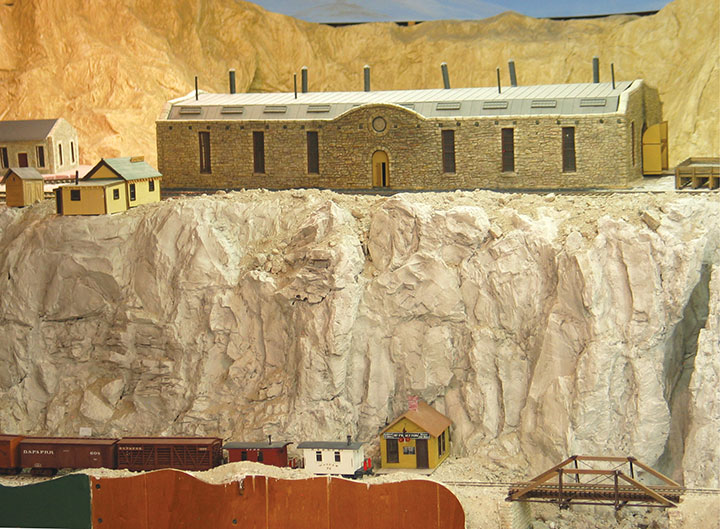
When I started my layout in 1995, the Alpine Tunnel engine house was the first thing to be installed in the benchwork. At 69 inches above the floor, it was the highest point on the layout and the sheer vertical wall down to the lower track made it a perfect spot to represent the Chalk Cliffs. I didn’t do anything more at that point, and built more benchwork around the basement before starting scenery.
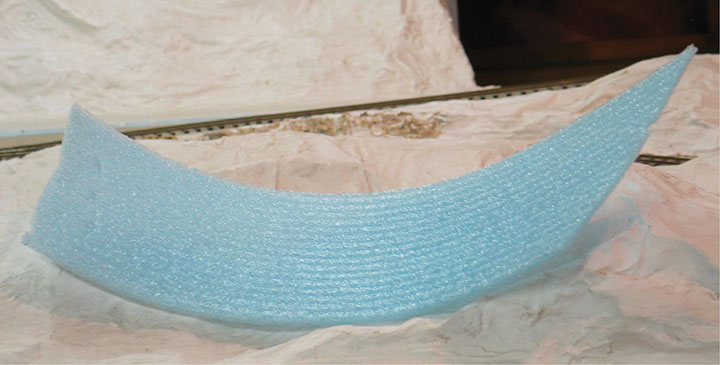
Sometime later, a new house was being built next door and, as any self-respecting model railroader would do, I rummaged through the scrap pile for anything useful. I found some strips of a flexible blue foam mixed in with the scrap wood. I asked the builder, who told me it was a product called Dow Sill-Seal, which was used between the concrete foundation and the wood bottom sill plate of the wall framing to provide a tight seal between the two materials. I gathered up the scraps, figuring I would find some way to use them.
I continued to build more benchwork, then decided it was time to rough in basic scenery, starting with the Chalk Cliffs. I have a lot of nearly vertical scenery around the layout, with mountains going up to the ceiling. I planned on using chicken wire as a support for the scenery, but I would need a lot and it would have been expensive. I also didn’t like cutting and bending it because I had to wear gloves to keep from being cut by the sharp ends.
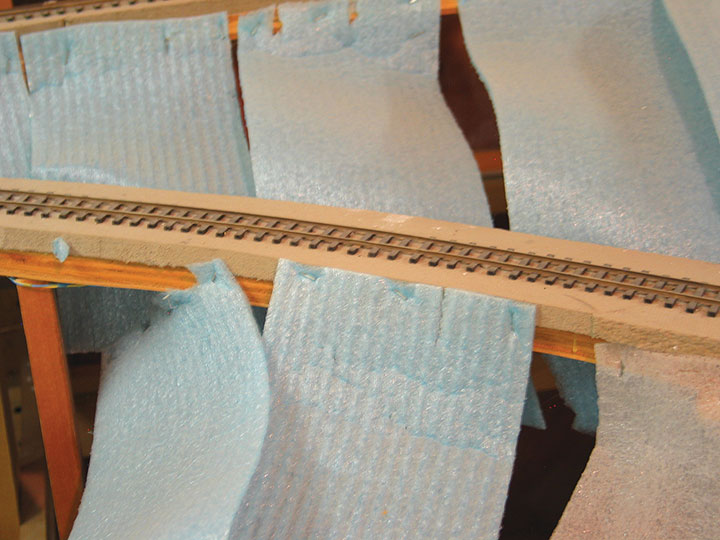
I remembered the blue strips and experimented with using them instead. I found they were easy to cut with scissors or a utility knife. I stapled them to the benchwork or roadbed with just 3 or 4 staples at each end and covered the strips with crumpled newspaper held in place with masking tape. I then used the traditional method of brown paper towels dipped in Hydrocal to form the hardshell understructure. Once that had set up, I would reach underneath and give a hard yank on the blue strips, which would tear them from the staples so I could trim the ends and reuse them. Some areas weren’t accessible from behind, so I left them in place. Eventually I had to buy more Sill-Seal, but it’s inexpensive and one roll was more than enough for the whole layout. I later found a generic version on eBay which is even cheaper.
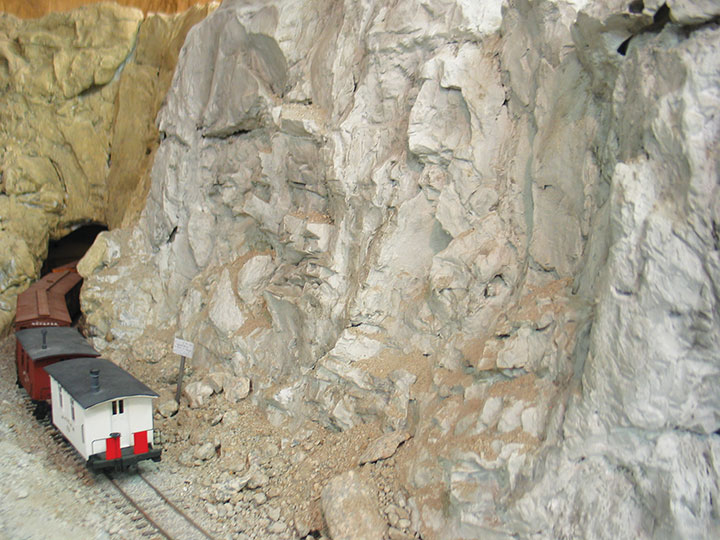
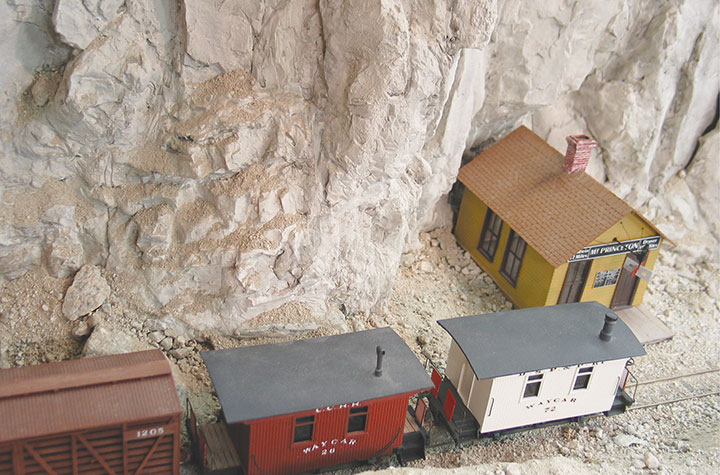
After the hardshell was in place on the Chalk Cliffs, I had a terrific time applying rock castings to the area. I have made my own rock molds and castings for many years, and it was like working a large 3-D jigsaw puzzle gluing the castings in position. I use a hot glue gun for this because I like being able to see how the castings will fit together rather than just applying molds with wet plaster in them.
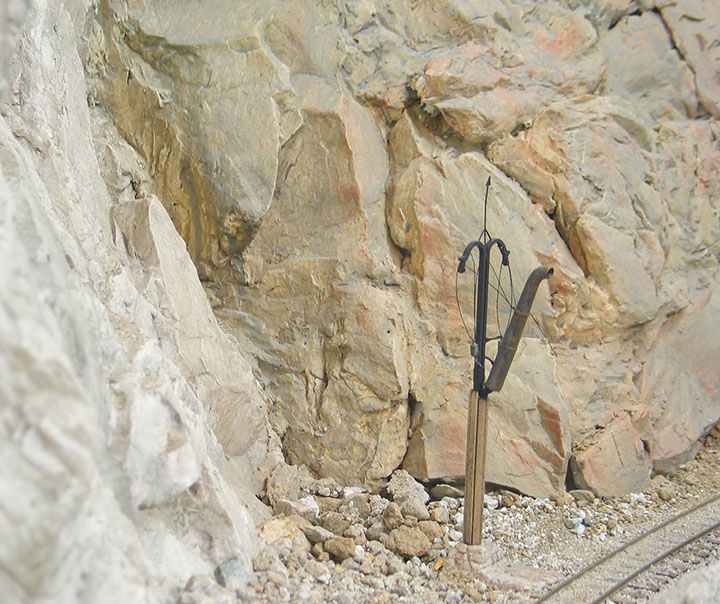
I have material from the actual Chalk Cliffs on my version, so matching the color was pretty easy. I painted my cliffs with a dilute coat of white latex interior paint, then sprayed thin coats of dilute India Ink on them, letting it run down and collect in the crevices.
My cliffs are a solid wall of rock castings 9 feet long and from 15 to 18 inches high, so this wasn’t a one evening project. I worked on them a little at a time and it was one of the most enjoyable projects I’ve done on my On3 Colorado Central & Southern.