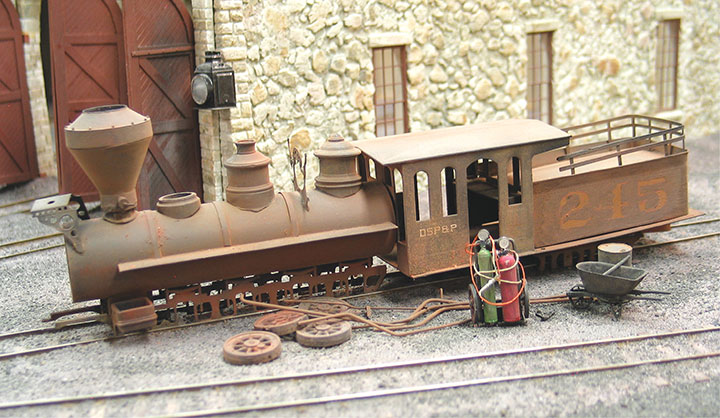
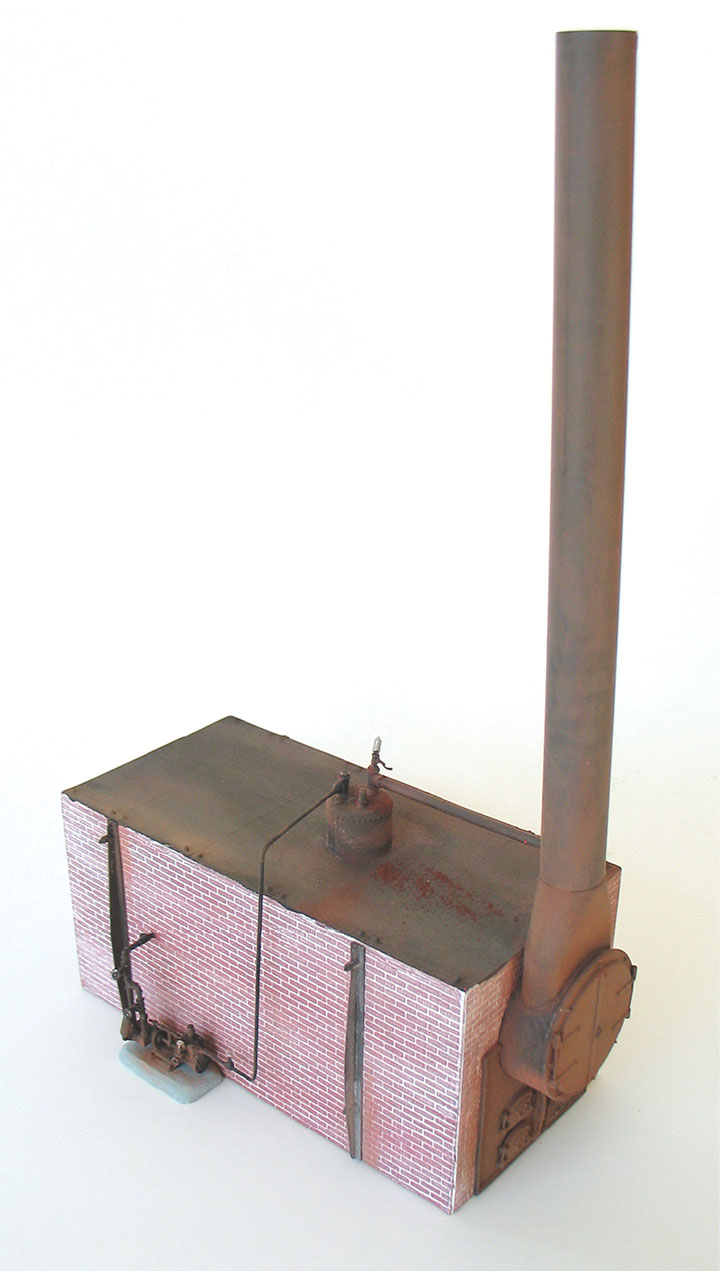
A roundhouse is the most prominent structure in a railroad yard and the Como roundhouse is no exception. The coal dock and water tank are important, but the roundhouse is certainly the focal point.
A series of moves caused my original CC&S to be dismantled, with locomotives, rolling stock and some structures boxed up and put in storage for a few years. During that time, I still bought kits which were also put in storage. One of the kits was the Como roundhouse, produced by Colorado Scale Models. The kit was nicely packed in the kit box and each plaster casting was individually wrapped, so I only looked at the instructions before storing it with my other boxes. More years passed than I anticipated before we built our Colorado retirement home, and I was able to start constructing the current version of the CC&S.
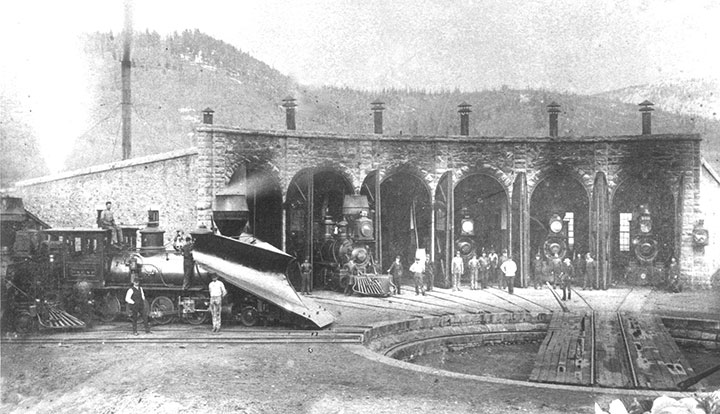
-George Mellen photo, courtesy of Denver, South Park and Pacific Historical Society.
Many layouts start with the yard area and build out from that, but I did the opposite by building the Como yard last. It was the last large open area, and I used it for building benchwork for the rest of the large layout. The space was just too handy for building bench work, and I hated to give it up.
Once the bench work for the yard was finished, the roundhouse was the first structure to be located because of its size and importance.
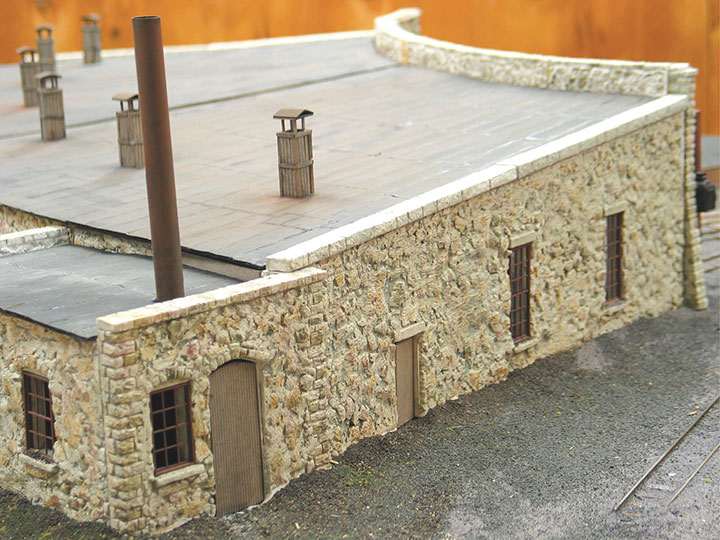
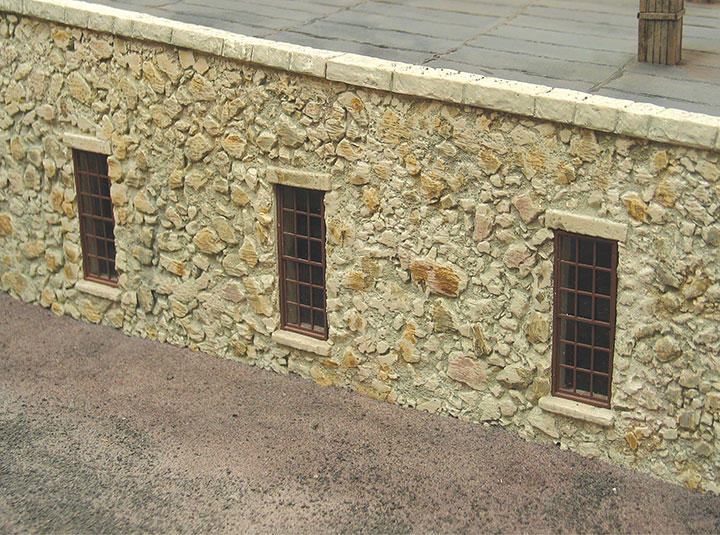
When I opened the kit, the first plaster sections I unwrapped were the arched stall door castings in the front wall, and I was impressed with the carved detail. However, when I started unwrapping the side and rear wall sections I was unhappy to discover they weren’t carved stone, but just various sizes of rocks. It was obvious the master patterns were essentially a layer of gravel instead of being carved. I understood why this was done. Carving rockwork in all those walls would have been very labor intensive, but it was very disappointing. Many of the stones were oversized and protruded much too far from the walls.
When I mentally pictured enlarging those walls to life size, I realized I just couldn’t live with them and resolved to find a way to fix them. The walls of the actual roundhouse are shaped, or cut stone, and are essentially flat.
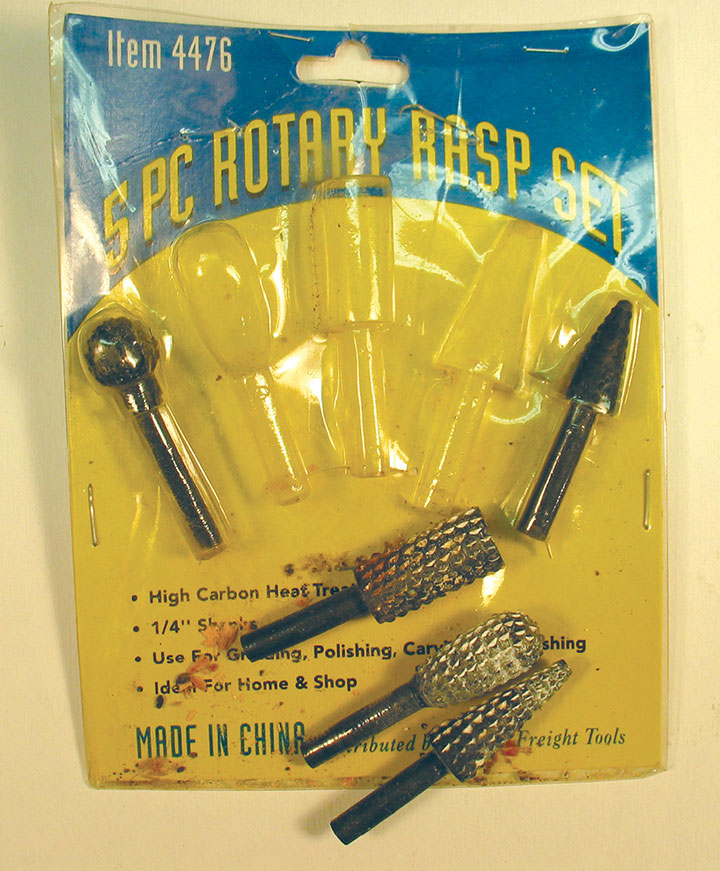
I considered sanding them, but later found the set of rotary rasps shown in my photo and used them in my electric drill to grind down the protruding rocks. The wall sections are cast Hydrocal, which is extremely hard, so I spent many hours working on the project. I didn’t want to grind off all the rock detail, so the walls aren’t quite correct, but are much closer to the look of the prototype. I assembled the walls using Titebond glue and stained them with carefully hoarded Floquil Flo-Stain colors.
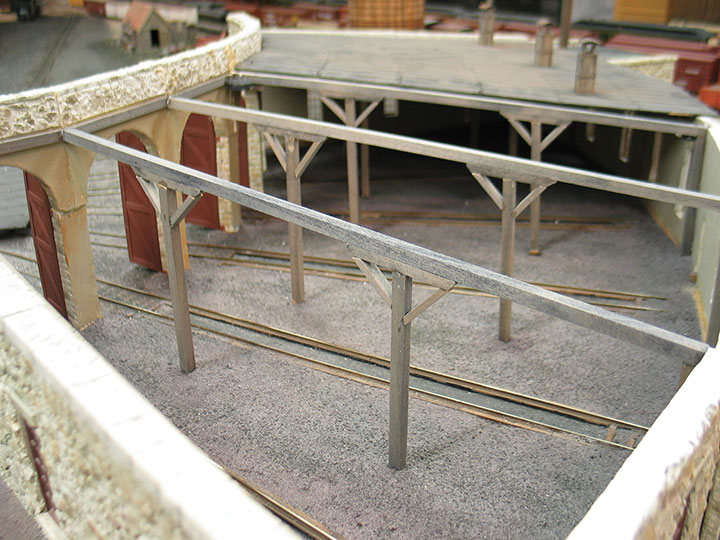

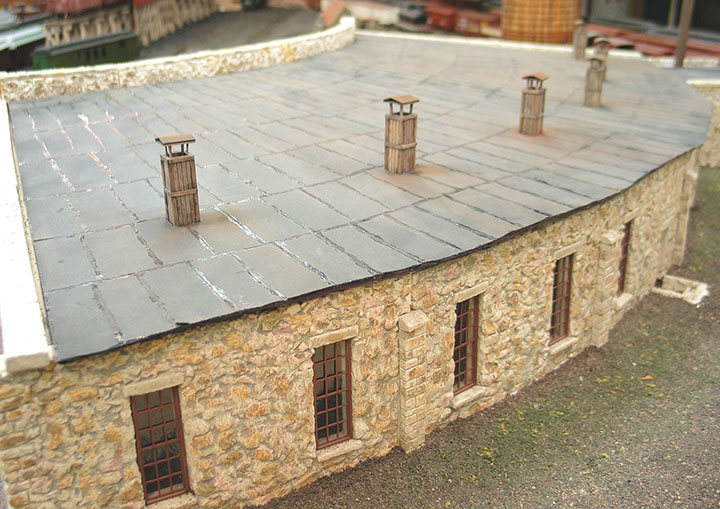
The kit didn’t include roof material and the instructions suggested using foam-core illustration board, but I wound up using scribed siding, with the scribed side facing inward. I assembled the roof in two sections for ease of access to the interior. I’ve never seen the roof of the actual roundhouse, so I patterned mine from a photo of a different roof I liked, and thought would add interest to the structure.
Unfortunately, the scribed siding roof tended to warp noticeably in certain types of weather, so I had to find a way to keep this from happening. I found some inexpensive plastic refrigerator magnets with a strong magnet in the base. I pried the magnets out of the base and glued them on some of the roof support beams and on the underside of the roof. This eliminated most of the problem and made roof removal easy.

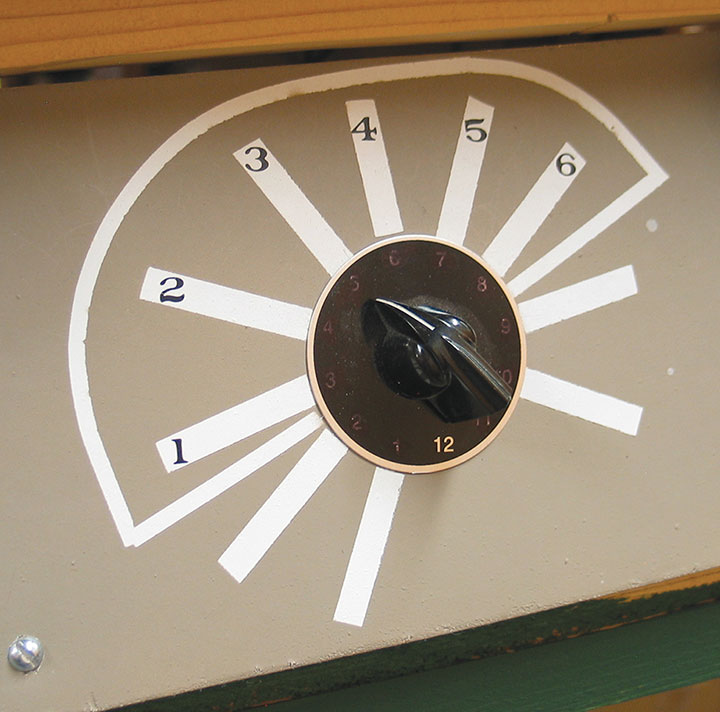
The 65-foot turntable is an old Diamond Scale HO 130-foot unit I converted to On3 by widening the bridge. Track power is fed to the bridge from a split ring rail and works very well. The bridge is turned by hand because it’s so close to the aisle, and I avoided dealing with motorizing and indexing the turntable.
This was a time-consuming, long-term project, complicated by grinding the wall sections, but the completed roundhouse is the centerpiece of my Como yard.
For more information on the beautifully restored roundhouse and other restoration projects in Como, visit dspphs.org. x