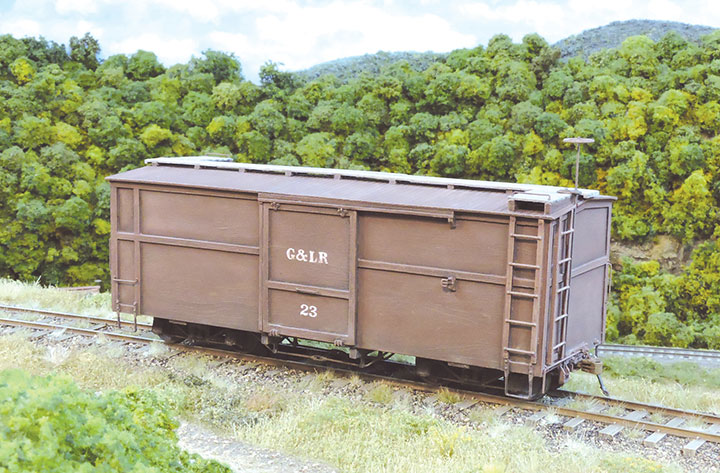
Following Bob Hayden’s article, I built an On30 version of a plywood-sheathed boxcar for my Greenbrier & Lost River RR, with a few departures (as noted in the five photo captions following).
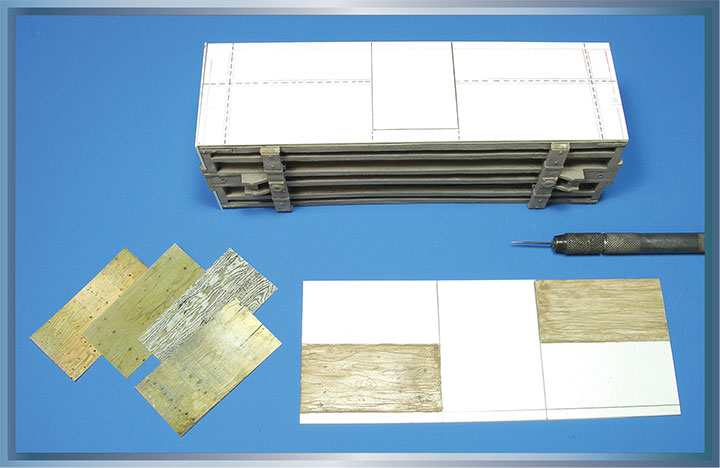
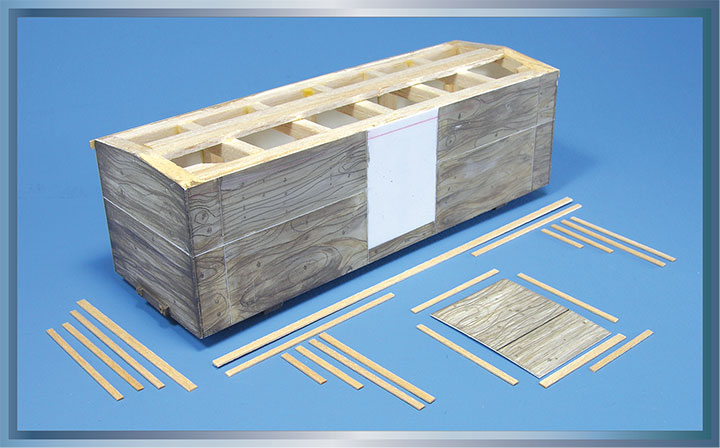
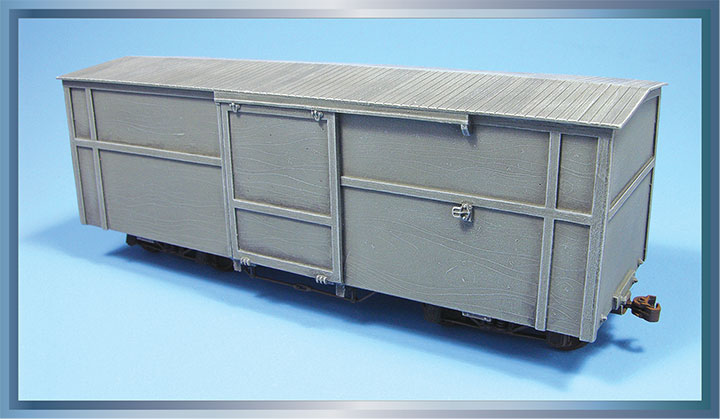
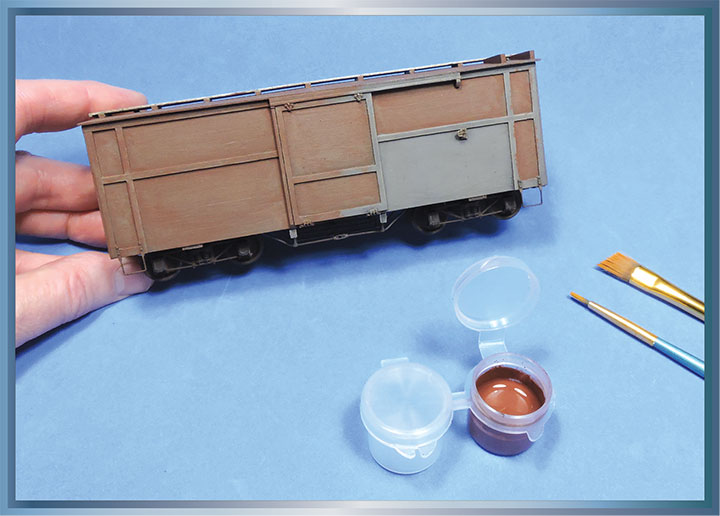
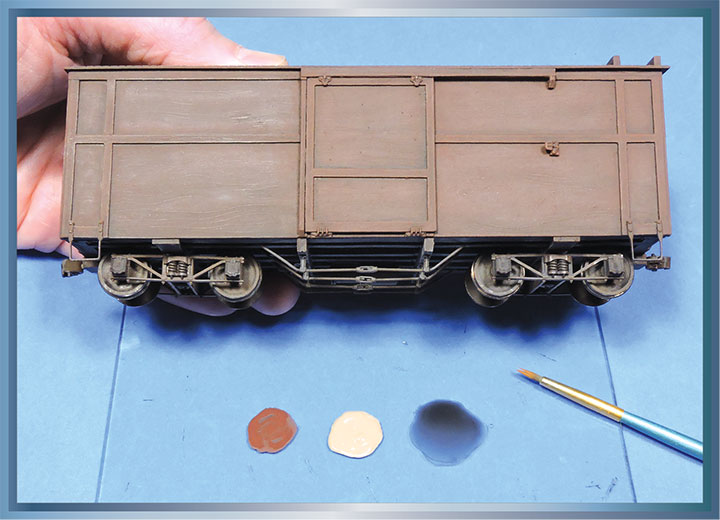
After developing the box comprising the car, I found some plywood panels on internet sites and printed them to O scale (four paper panels on the left). I then practiced replicating the graining patterns on a 0.03-inch-thick styrene panel with a needle in a pin vice. To see the woodgrain and knot holes (developed with a drill bit), the two practice panels were washed with a thin coat of dark brown acrylic.Areas of the boxcar sides and ends shown penciled into panels on the previous photo were scribed, and individual panels and the door were detailed with knots and woodgrain. The edge-sealing boards, which are basswood, were glued over the seams once the panels were initially painted. I affixed the strip wood (which I find easier to use than comparable styrene strips) with yellow wood glue and then secured them with CA once alignment was checked.I sprayed the boxcar exterior with a couple of light grey solvent-based primer coats using a spray can. Once that was dry, exterior components were washed with several overall and spot applications of thinned black acrylic. Then light grey acrylic was dry brushed over the entire model, using a ½-inch-wide soft square brush. The framing board and roof sheathing edges, along with the woodgrain, were accented with this approach (which could be toned down with careful swipes of a brush lightly moistened with rubbing alcohol).Painting the boxcar exterior with a custom red brown began by mixing several craft acrylics and applying thin applications over the panel areas and roof sheathing with a 3/8-inch-wide angled brush. I painted along the woodgrain with just one coat, then followed with a small, pointed brush to apply paint to the framing boards and hardware details. Allow the first application to dry a couple of hours before follow-up coats to darken specific areas, if desired.To accent plywood woodgrain and highlight roof board and hardware edges, I dry brushed tan acrylic directly over select areas. The tan was also selectively added to lighten the red-brown base color so that boards (particularly those comprising the roof) could be individually lightened as well. This iterative painting, along with selectively black-washing components, customized the boxcar’s exterior finish (and is best accomplished before adding grab iron, ladder, and brake system details). The final step (following detailing and dry transfer lettering) was to add a bit of dust along the lower edges of the car’s sides and ends, as reflected in the sidebar’s title photo.