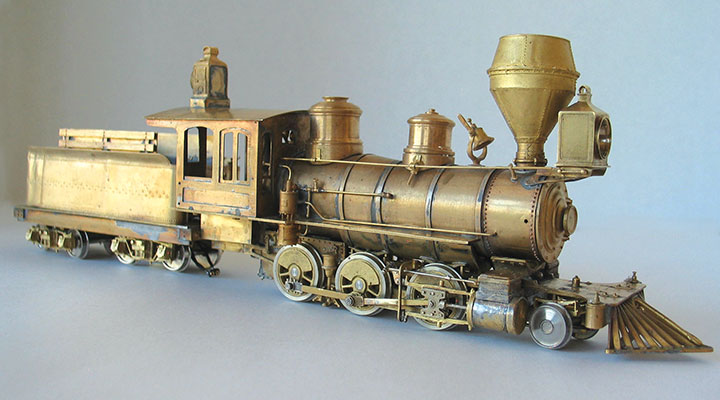
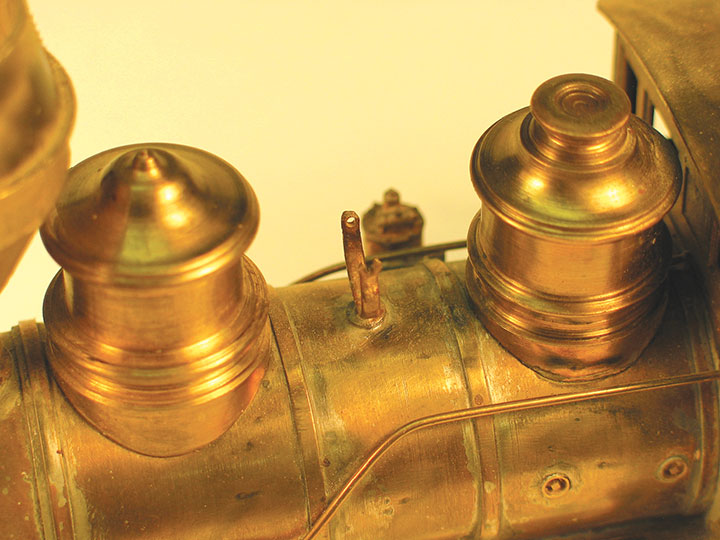
I began describing how I turned the domes for #10 in the November/December 2020 GAZETTE. I will complete my description in this article.
I have been stressing in my articles that my methods are not necessarily the only, or the best, way to approach building a brass locomotive. But they work for me.
This also applies to my method of turning domes. I’m not a trained machinist, just a self-taught amateur. I want to show that you don’t have to be a professional machinist to produce good looking domes, and have fun in the process.
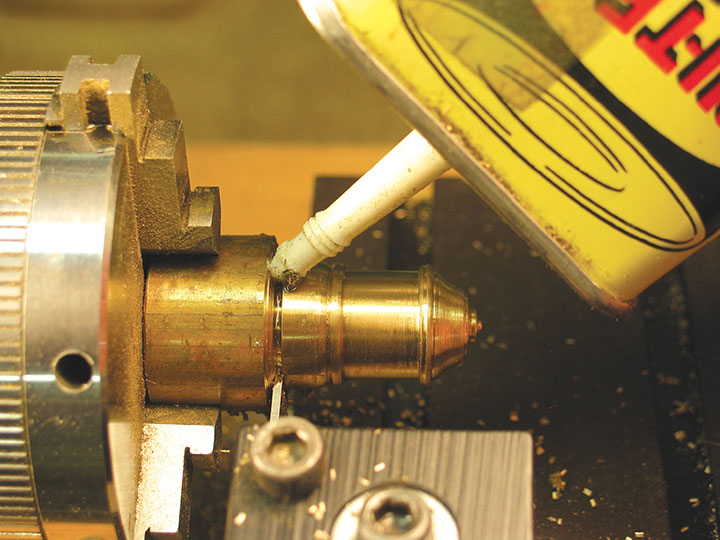
One of the most important things to remember when using a small tabletop lathe is to take small cuts. An aggressive cut can jam the tool into the work, creating a gouge that is difficult or impossible to remove without destroying detail. This can also stall the motor, so be prepared to shut it off quickly to prevent damage. I also find it helpful to use a slow speed when turning brass.
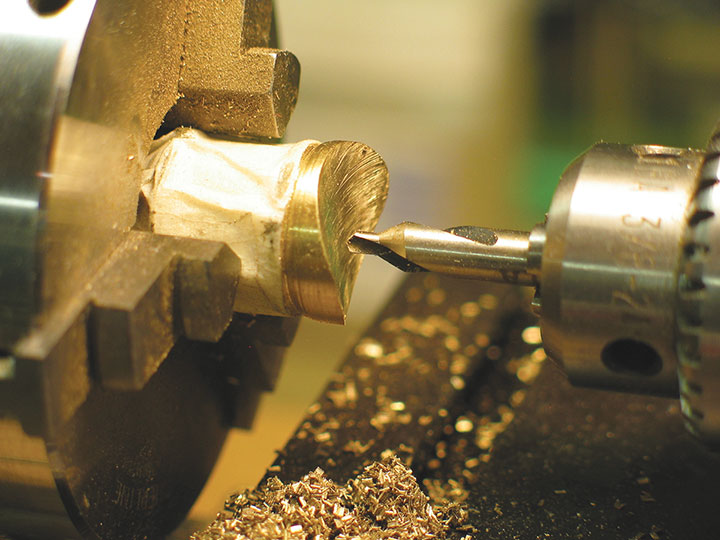
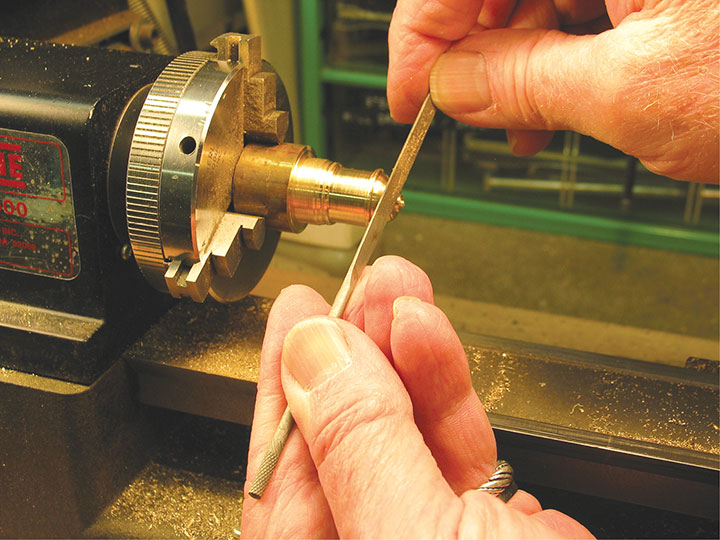
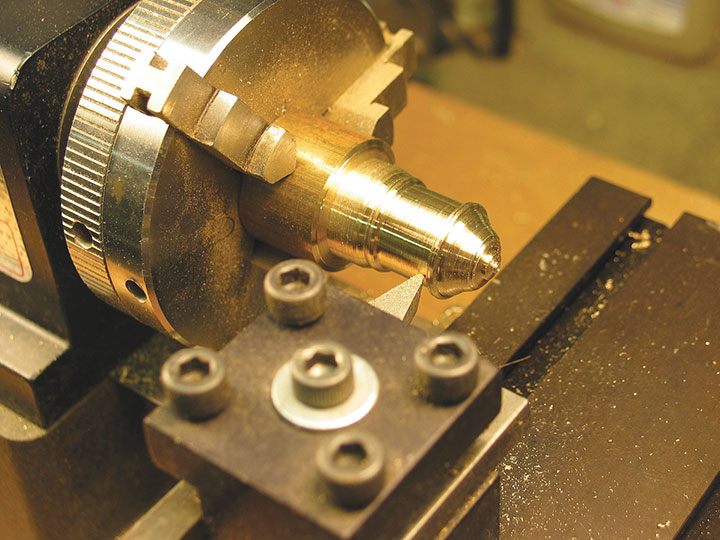
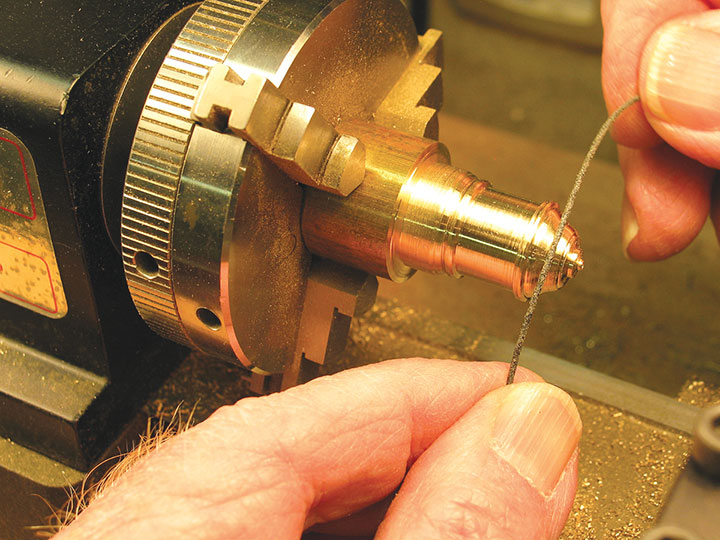
Turning the curved top of the dome is the most difficult part of the process. I rough-cut the basic shape of the curve by angling the cutting tool, then finish shaping it with needle files.
The half-round file is the most useful for this step. I hold the file in both hands, as shown in the photo, to prevent it from catching in the work and coming back into my hand. I’ll repeat this: For safety’s sake, don’t hold the file with the handle in the palm of your hand. Even a small lathe demands attention and caution.
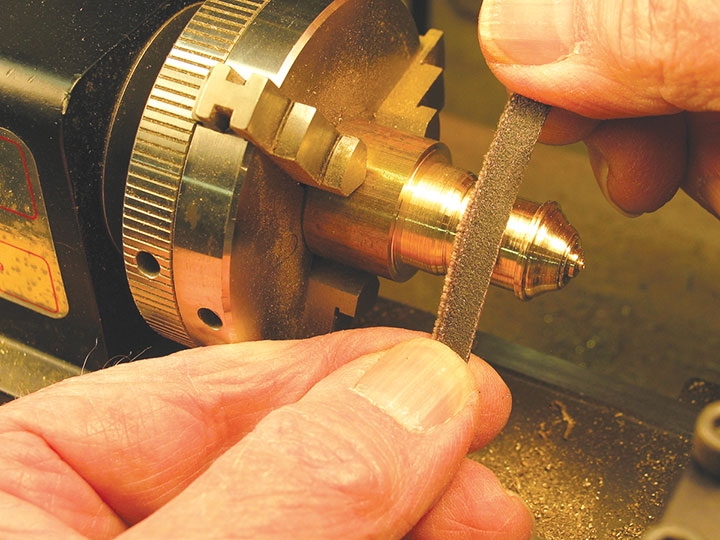
I’ve spent more time than I like to admit trying to figure out how to cut the radius in the base of the dome to fit on the boiler. A fly cutter would probably be the best tool, but I’ve never been successful using one.
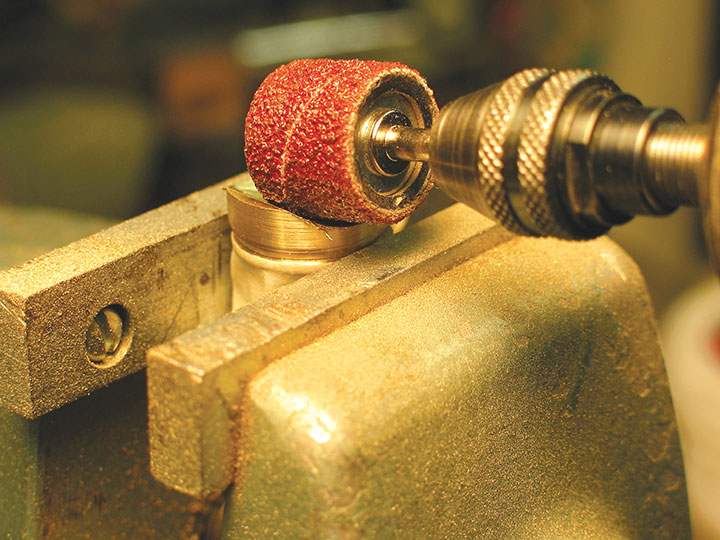
After many false starts, I decided the simplest way was the relatively crude method of grinding the curve by hand, using sanding drums in my motor tool. This is a trial and error process, involving many test fittings on the boiler, but it becomes easier with practice. I use this method on all my domes.
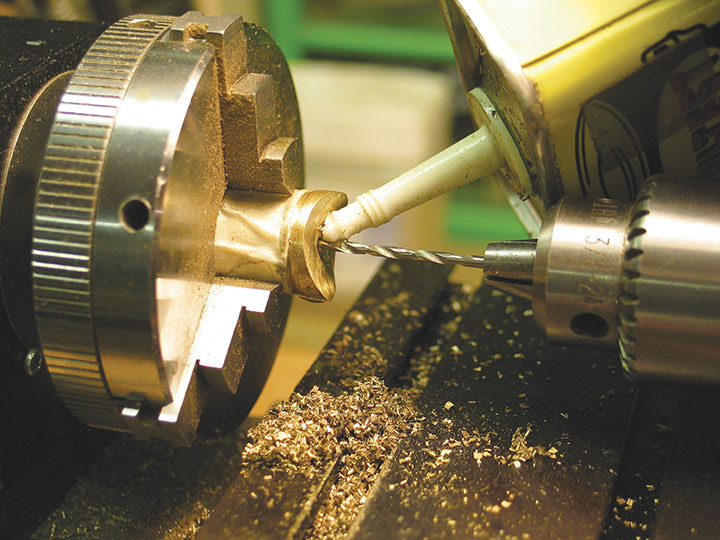
The final step is to drill and tap for a mounting screw. I generally use either an 0-80 or 1-72 screw, but size isn’t critical.
This completes discussion of the major components of #10. Next time I’ll describe the tender.