Contents
Rebuilding My Pine Cliff Layout
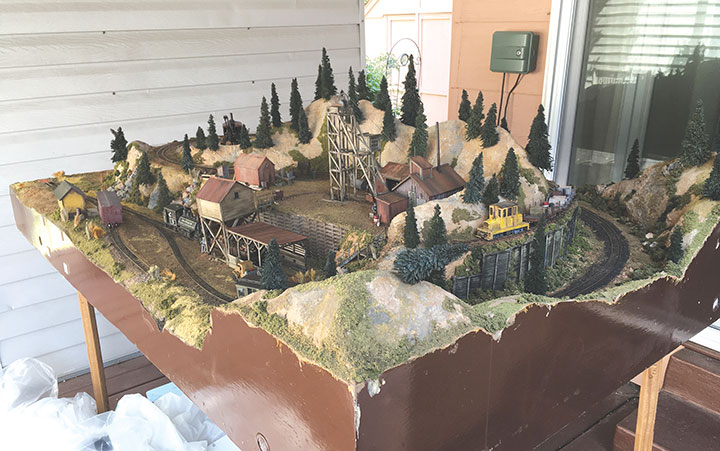
For several years I have been threatening to rebuild my Pine Cliff mining and rock quarry module. It is part of our four person On30 group known as the Gold Creek, Pine Cliff and Elk Springs group. Our basic modules were built decades ago on frames made by Mike Harris. They were 1- x 4-inch frames, with Masonite edging, blue foam board, and removable 2- x 2-inch legs. These modules were light, easy to move, and work on. We started adding track, carving mountains out of foam insulation boards, adding scenery, structures and details right away. Over the years our modules have been modified several times, mine likely has the most changes made to it. A mine and quarry track were added to the side of my mountain above the mainline. It used a shuttle unit to add some animation. Scratchbuilt structures were added, trees were put in place and so on. All of this is part of my enjoyment of the hobby.
An Inexpensive Turnout Controller
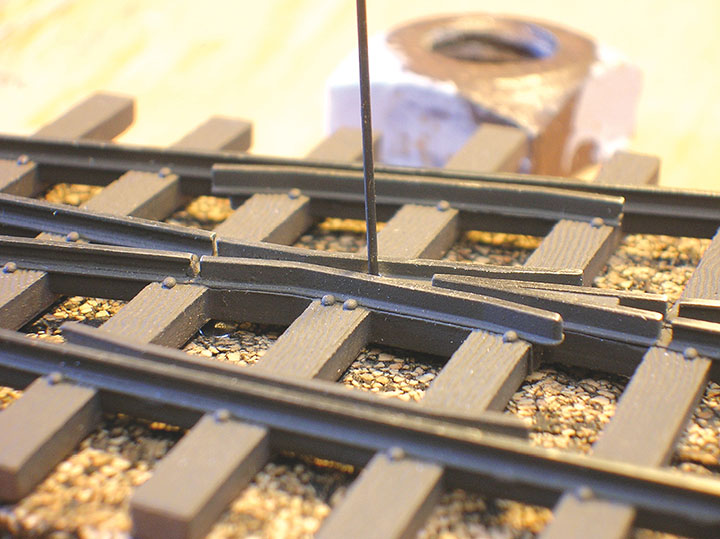
The On30 switching layout I described in the July/August 2020 Gazette has seven hand-laid turnouts. Another On30 layout I am working on has twenty-three turnouts. To save time, I used Micro-Engineering (ME) flex-track and turnouts in most places on my new layout. After all, given my age, I wanted to live to see that layout in operation. Commercial turnouts cost $20.00 to $25.00 each, but to my dismay, I discovered that commercial turnout controllers are just about as expensive. So in order to save money and challenge my ingenuity, I decided to devise a turnout control system of my own that would be fairly simple, highly reliable, and above all, less costly. What I came up with fits those requirements and allows me to throw points and route electricity for about $8.00 per turnout, linkages included. Both of my layouts use this system and I have found it to be totally reliable over years of operation. If you decide to try my system, I recommend mass producing the units, maybe a dozen at a time. You can work more efficiently this way and later on, as your layout progresses and you install more turnouts, all you need to do is go the shelf, pick up the finished components, and do a 20–30 minute installation.
The East Tennessee & Western North Carolina Railroad and Its Locomotives
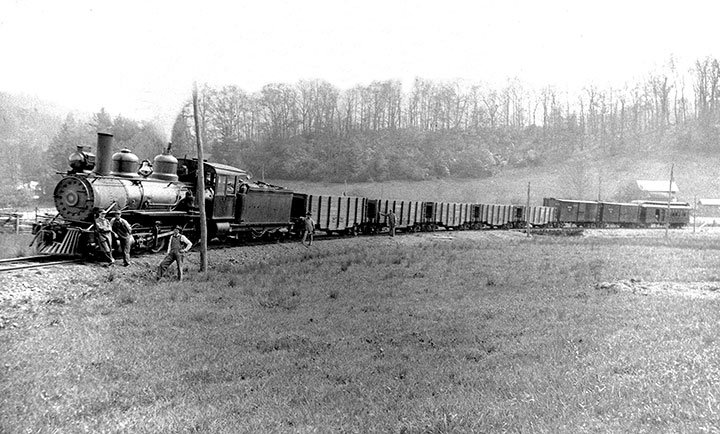
The East Tennessee & Western North Carolina Railroad had barely survived its first twenty years of operation. Unhealthy business decisions by her parent company Cranberry Iron & Coal, and poor business conditions in the South in the last two decades of the 19th Century had strained the railroad almost to the breaking point. A disastrous flood in May, 1901, would have ended the story of this little narrow gauge line had a few smart investors not made some changes that would turn the whole situation around. Instead of dying, the railroad gained new life and entered a period of great prosperity.

Self-Propelled Log Unloading Machines
All the major donkey manufacturers offered log unloading machines in their catalogs. Before this occurred, however, a few of the bigger logging companies designed their own machines. These unloaders were equipped with just a “swamp hook” which was quite adequate for the big logs and small loads of the 1890s. The Deep River Logging Company of Naselle, the Port Blakely Mill Company of Kamilche, the Peninsular Railway of Shelton, and the Polson Logging Company of Hoquiam, all in Washington State, were a few of the companies that designed their own. These were designed to run down a track parallel to the unloading dock track which was usually tilted a few inches towards the water to aid in the unloading process.
Lighting Up My HOn3 White Pass & Yukon
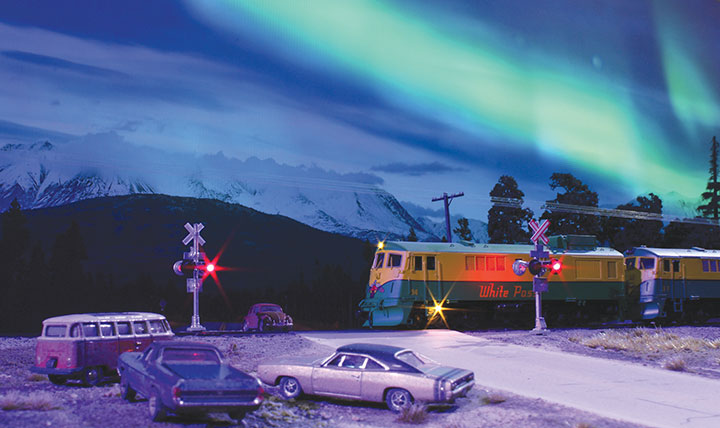
In the first two parts of my series of articles on layout lighting I described theatrical lighting design and how it can be adapted to a model railroad. I broke down the art of lighting design into several elements that can be used to direct a viewer’s attention and create natural looking visual images. For the designer to have full control of lighting’s potential, a control system is needed to handle fixture dimming when needed. In this final article of my series I’ll describe the control system on my model railroad, followed by the fifth goal of lighting design, special effects. In the hierarchy of lighting goals, special effects come in last, but if everything is well executed, special effects are the cherry on top, and can truly make an impression. Having a layout set in Northern British Columbia, I felt it couldn’t be complete without the Northern Lights dancing across the sky.
Layout Refinements
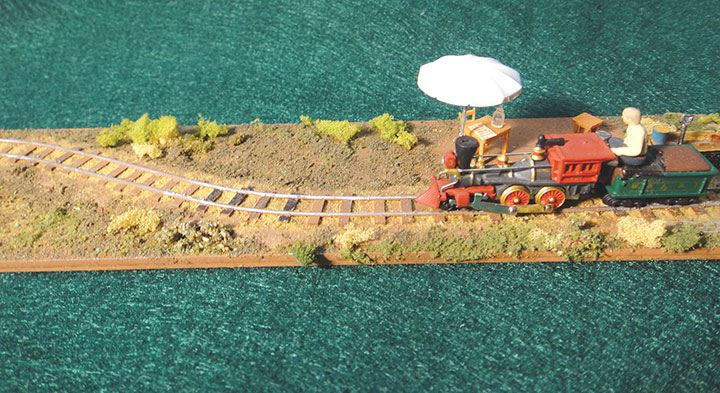
One of the great intriguing details of any mine scene is the tiny mine track. Actually, spindly little track is appropriate around sawmills, construction sites, and a lot of industrial complexes. On my HOn3 Rio Grande Southern layout I have six locations where I handlaid 18-inch gauge track. Well, approximately 18 inches — my experienced modeler’s eye isn’t experienced enough to discern an HO inch! How do you hand-lay 18-inch gauge track in HO? I’d love to tell you that I hand-hew each little tie from oak and drive microscopic spikes with robotic surgical instruments. But no, I’ll stick to the facts; and the facts are quite straight-forward and simple, I have two methods of laying tiny track.
Scratchbuilding Colorado Central #10 for my 0n3 Colorado Central & Southern
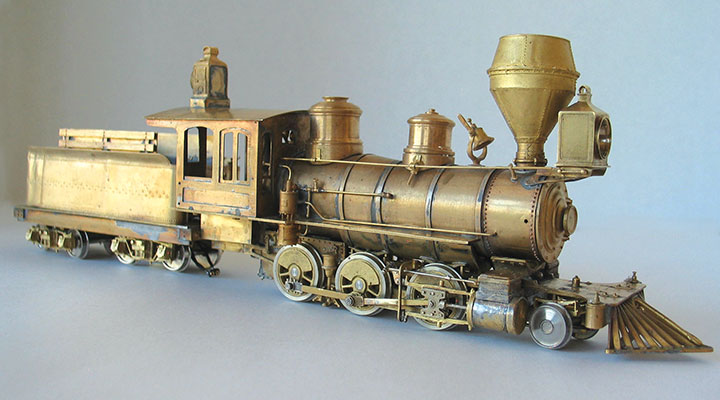
I began describing how I turned the domes for #10 in the November/December 2020 GAZETTE. I will complete my description in this article. I have been stressing in my articles that my methods are not necessarily the only, or the best, way to approach building a brass locomotive. But they work for me. This also applies to my method of turning domes. I’m not a trained machinist, just a self-taught amateur. I want to show that you don’t have to be a professional machinist to produce good looking domes, and have fun in the process.
Brass Bashing
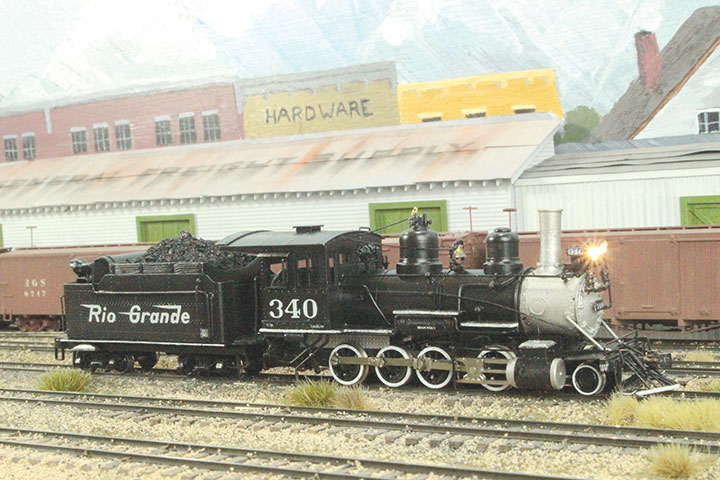
In the November/December 2020 GAZETTE, I explained the criteria I use for selecting a model for a brass bashing project. I then worked through upgrading the drivetrain and adding details to a Balboa HOn3 model of a D&RGW C-19 class locomotive. When completed, the model will be a representation of D&RGW #340 in the mid-1940s. In this issue I will continue this project from where I left off. Detailed information is presented here in the photo captions that follow.
The Narrow Gauge Scene
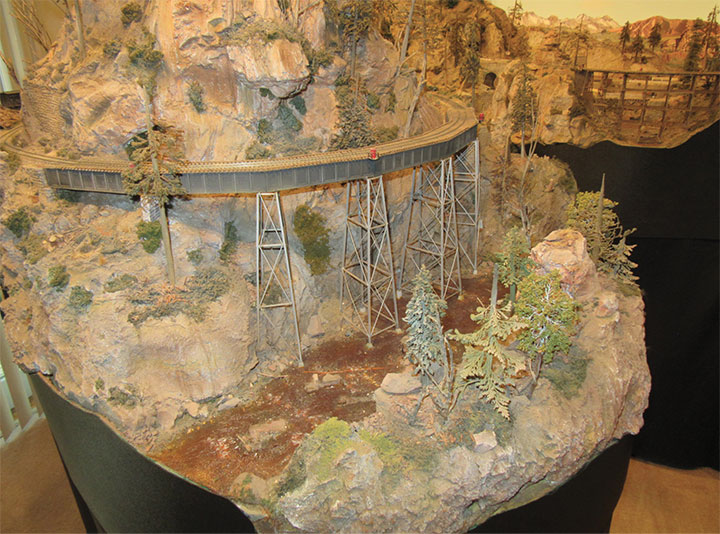
Long time readers of the GAZETTE may remember my column way back in the May/June 1998 issue wherein I described how I ended up with Model Railroader magazine’s seminal HOn3 project railroad, the San Juan Central (SJC). This innovative layout, Model Railroader’s only narrow gauge project railroad, was built by Malcolm Furlow and had a large impact on the narrow gauge world. Its construction was described in a series of articles appearing in the November 1983 through August 1984 issues of Model Railroader. So popular was the series that the articles were later published as a soft-cover book entitled HO Narrow Gauge Layout You Can Build, (Kalmbach Publishing Co., 1984). Three printings later, the book went out of print until Bob and Irene Brown, with Kalmbach’s blessing, issued their own expanded version in 2008 as a Benchmark Publications book. Added was a chapter by Bob Hayden, on the “Rest of the Story” about the SJC’s journey through different owners. Starting with Malcolm, I was Owner #5 as related in the book and my earlier column.